We baked rolls for homework
38 comments
Warning!!
Warning!!
Warning!!
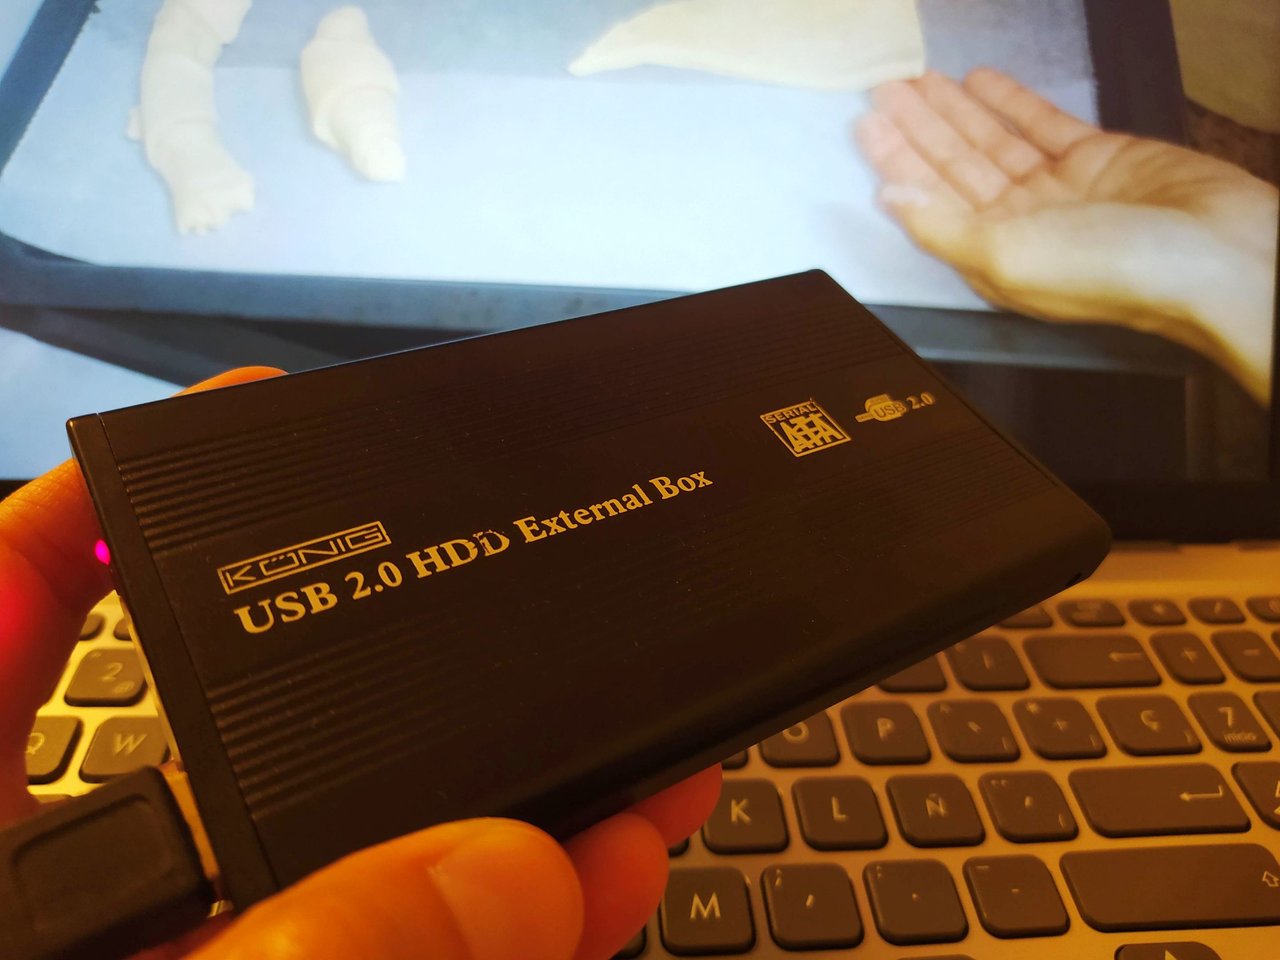
Please be careful how you handle this piece of memories I am bringing today. Those were some different times - the past - and who knows what phone my son had, as it was he who took these photos of me... It was a time I should not mention in words, but if you remember some four years ago the months we had to stay at home...? Locked inside our homes? Well, we talk about those times.
...
Maybe one additional alert... food alert 😂 and the chef..? None other than yours truly!
This could be a complete disaster, the combination of the mentioned alerts... but let's go. Into the kitchen doing wild things. Yes, why are you surprised? I used to cook and bake there some tasty bites, like these little bread rolls you will meet in no time.
But patience, please. First I had to find these photos, which were hidden among a gazillion other photos and documents in the external little black box thingy you see in the first photo. There I found things that I don't know why we still didn't delete. Tons of homework of my son that he had to send to his teachers, as they couldn't go to school. The lessons were... which lessons? I would lie they had online lessons. No, they just got every morning the tasks and homework through the application the education provided, and later they had to send back the work. Maths, literature, music, even physical education! I found today all those works there and the photos of my son doing planks, push-ups, and all other physical exercises they had to do.
Not sure for which subject we needed this food preparation activity. The result was anyway tasty, although my son may not be the best photographer. 😆 But I alerted you at the beginning of my post! 😁
The baking went in this order... prepare the ingredients. Measure the flour, one egg, butter, yeast, oil, milk, and a little salt. Yeah, I am looking at the photo, but I know very well this recipe, just for the record. I got it from my sister, who was a pro in preparing these rolls.
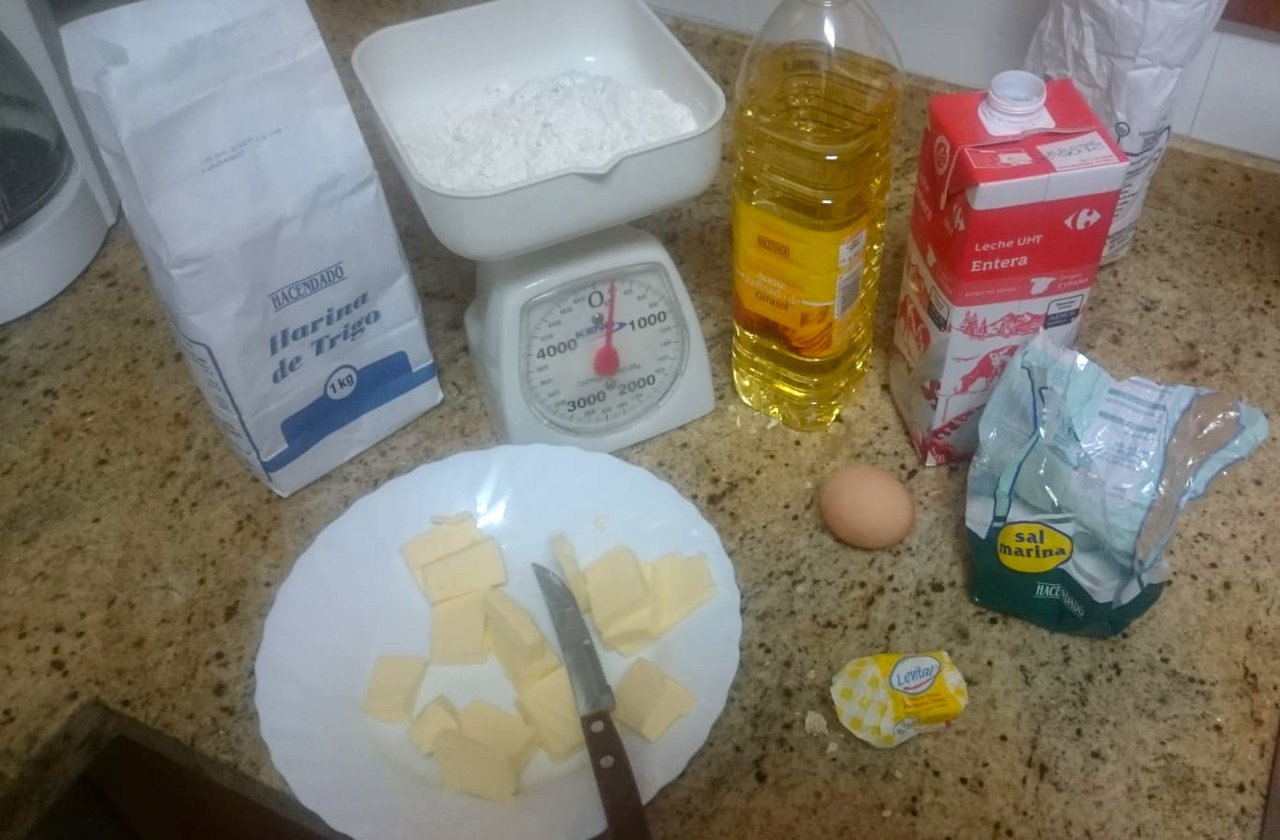
Now the tricky part comes... the waiting part!
Because you have to let the dough rise, in a warm place, cover it with a kitchen cloth if you prefer and sometimes check on it. And wait.
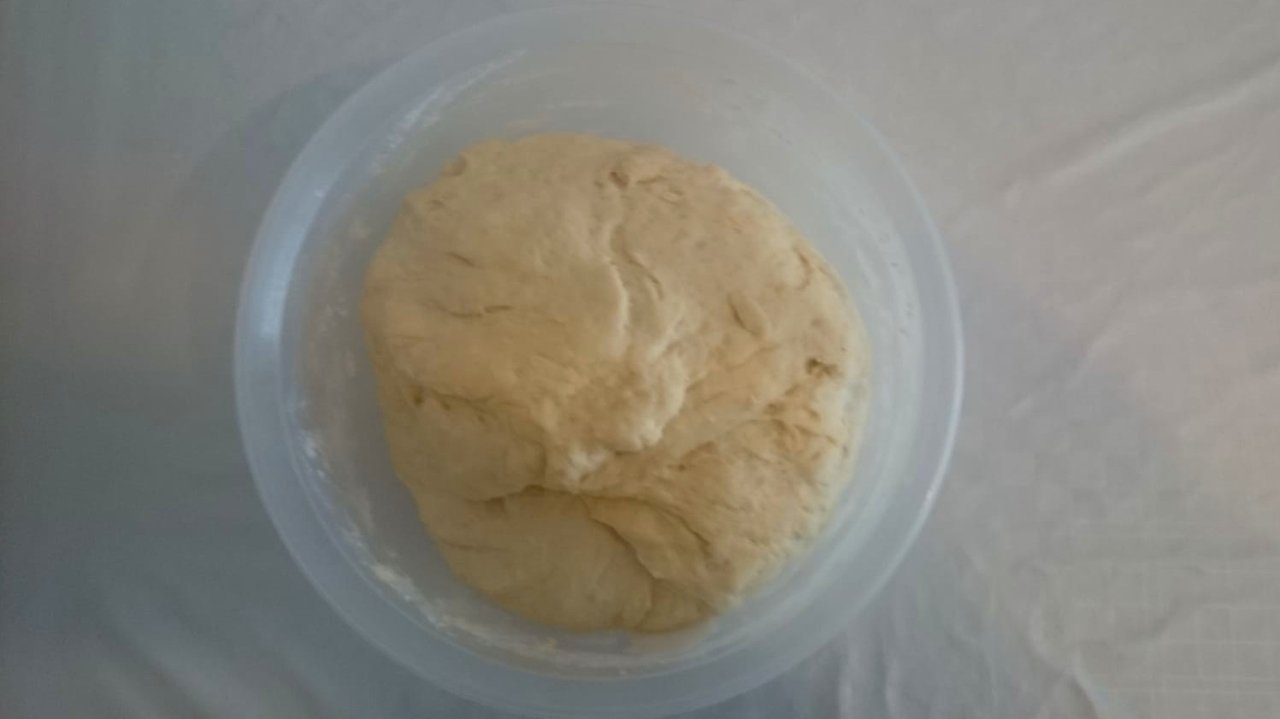
Once the dough took its time and felt ready for further intervention, I placed it on a flat surface sprinkled with flour and rolled out the dough thinly with the help of a rolling pin.
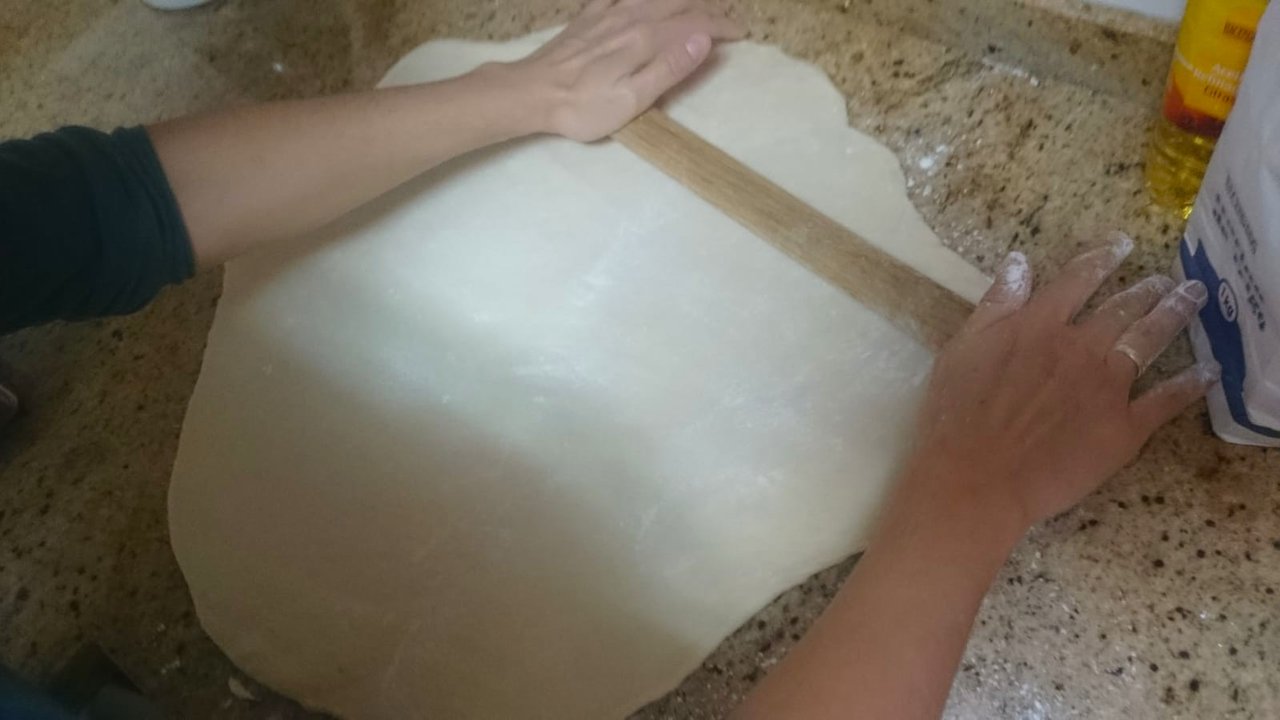
{Don't pay attention to my white hands}
After the waiting time and rolling out activities, we have to take out the knives!! Be careful, very careful! Cut just the dough in triangles and never your fingers. They have to survive the culinary actions without any injury.
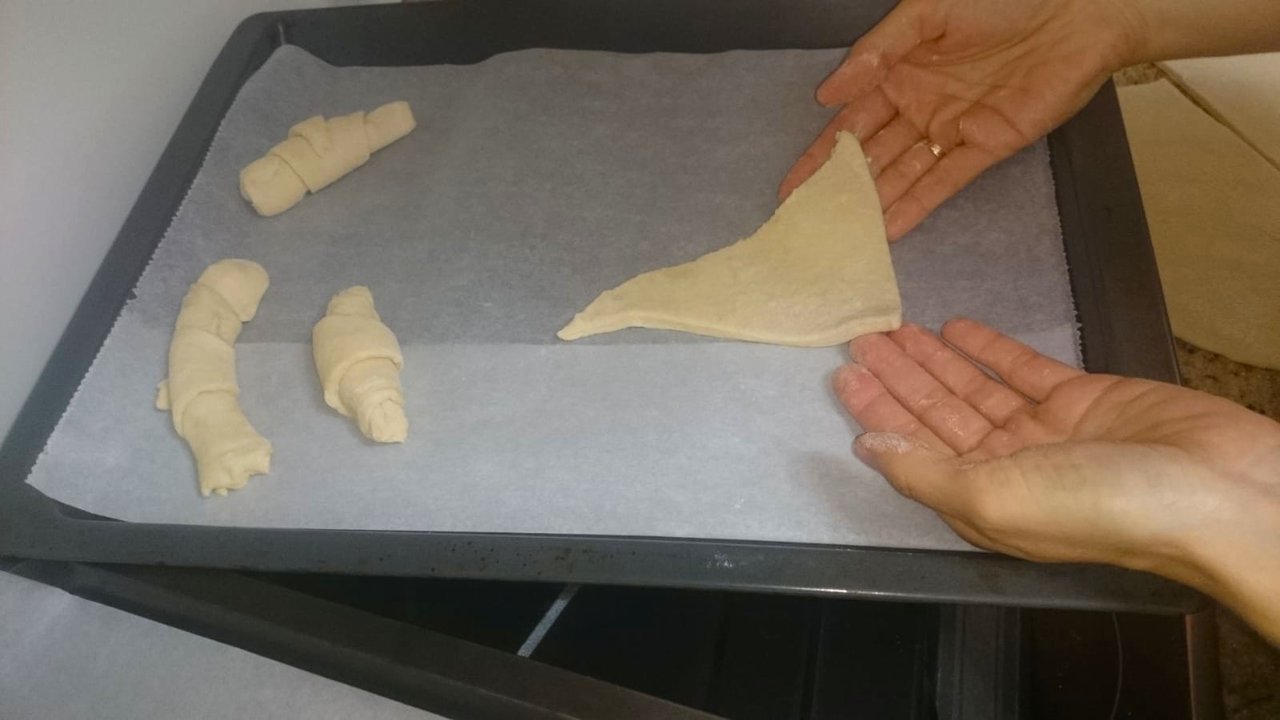
If you follow my steps, you will also see from the photo that you can place baking paper on the baking tray. The rolls will take a nap there.
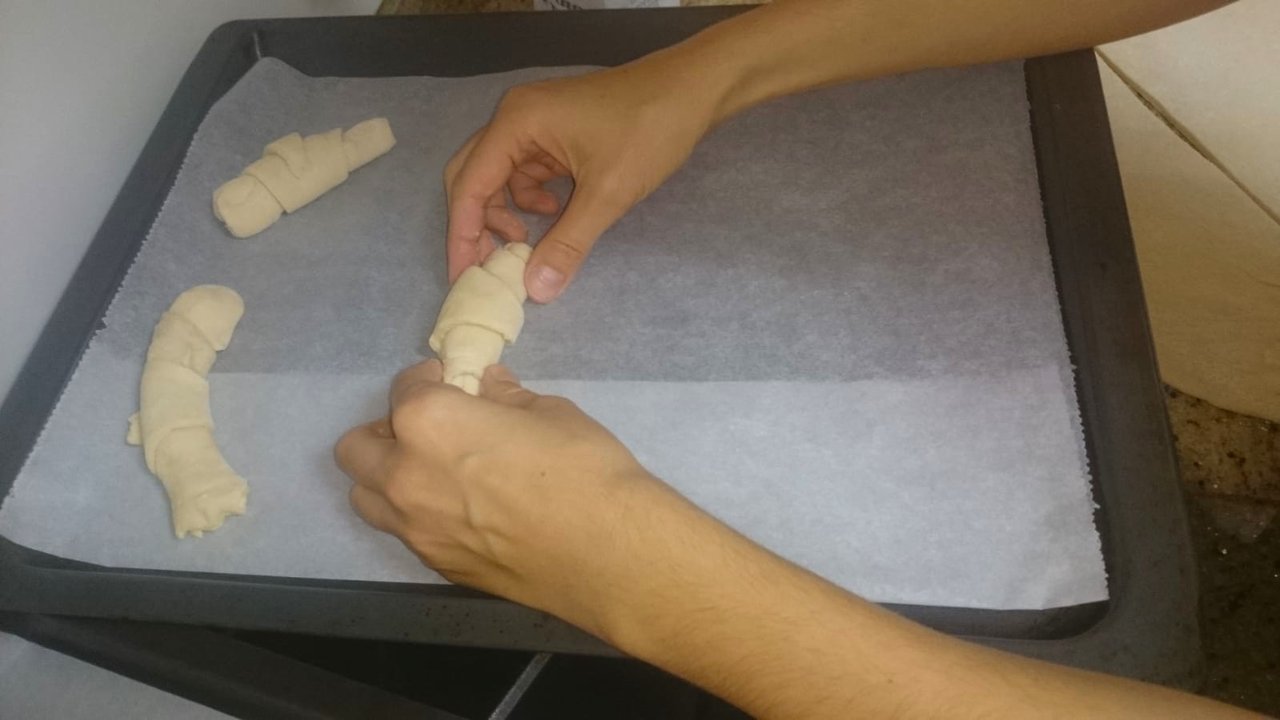
Don't forget to place the tray into a preheated oven though. It is an essential step in this baking process, so you get this result:
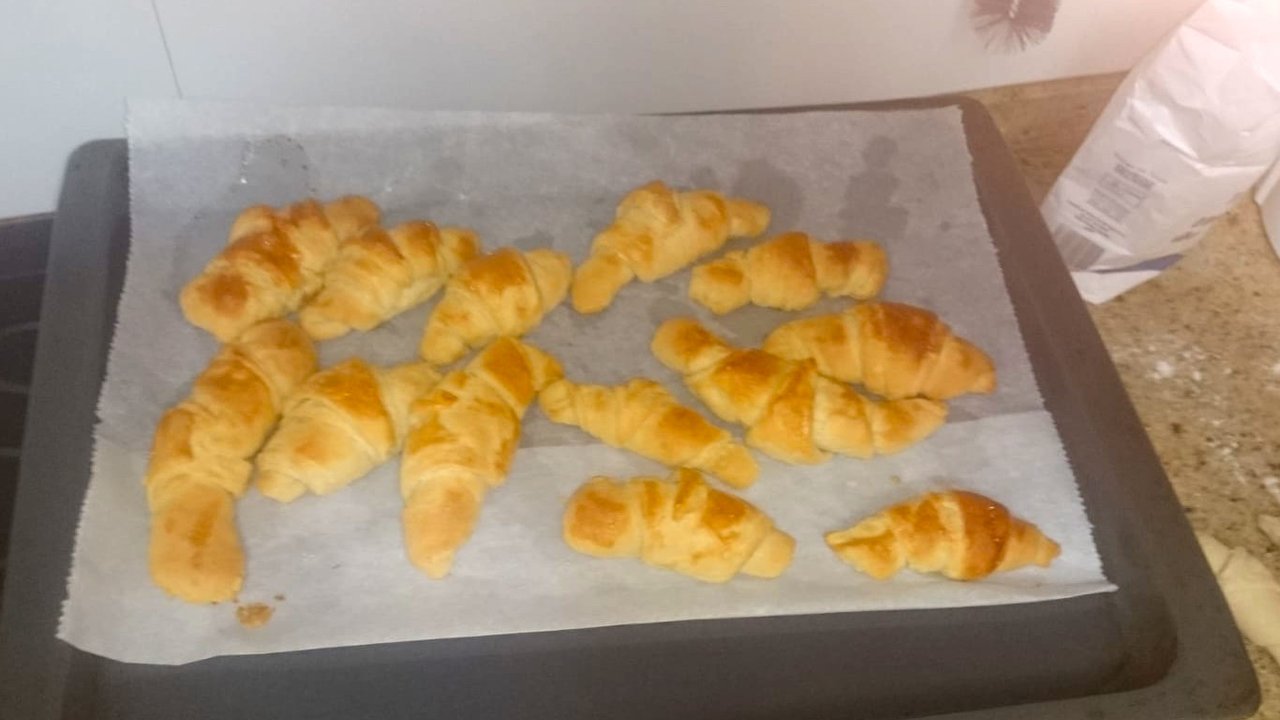
Can you smell the freshly baked rolls now?
Be honest!
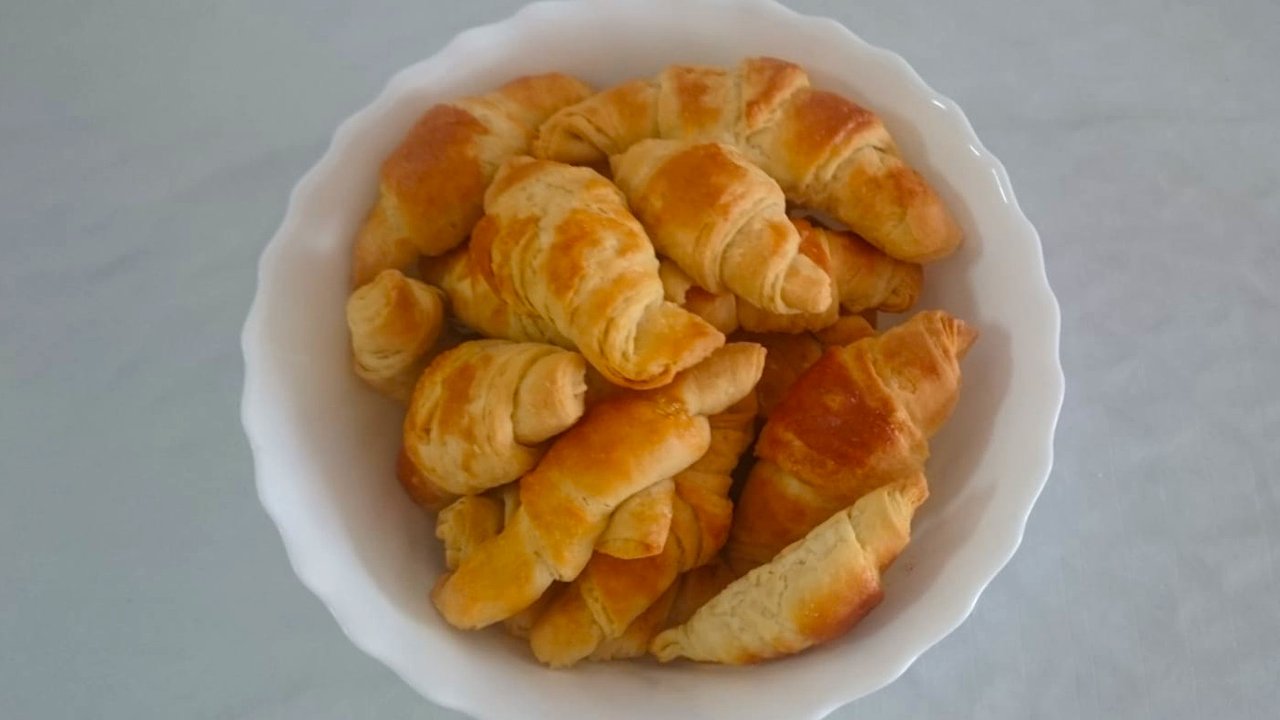
Don't worry, I can't do that either as they disappeared from this bowl four years ago... 😉


Comments