Planter's For Some Olive Trees
11 comments
So I recently bought 2 Olive trees for my garden. Starting to think was a terrible idea with the lovely English weather!
The things keep blowing over due to their high centre of gravity and relatively small sizes.
So I thought what better way to keep them stable and make them look a bit nicer that I made some planters for them.
https://img.inleo.io/DQmdmTh3N9e7usX5bLLDuTDAJpWc5zjHrLUBwwpka6Cbpr7/sQCd7Ywo.jpg
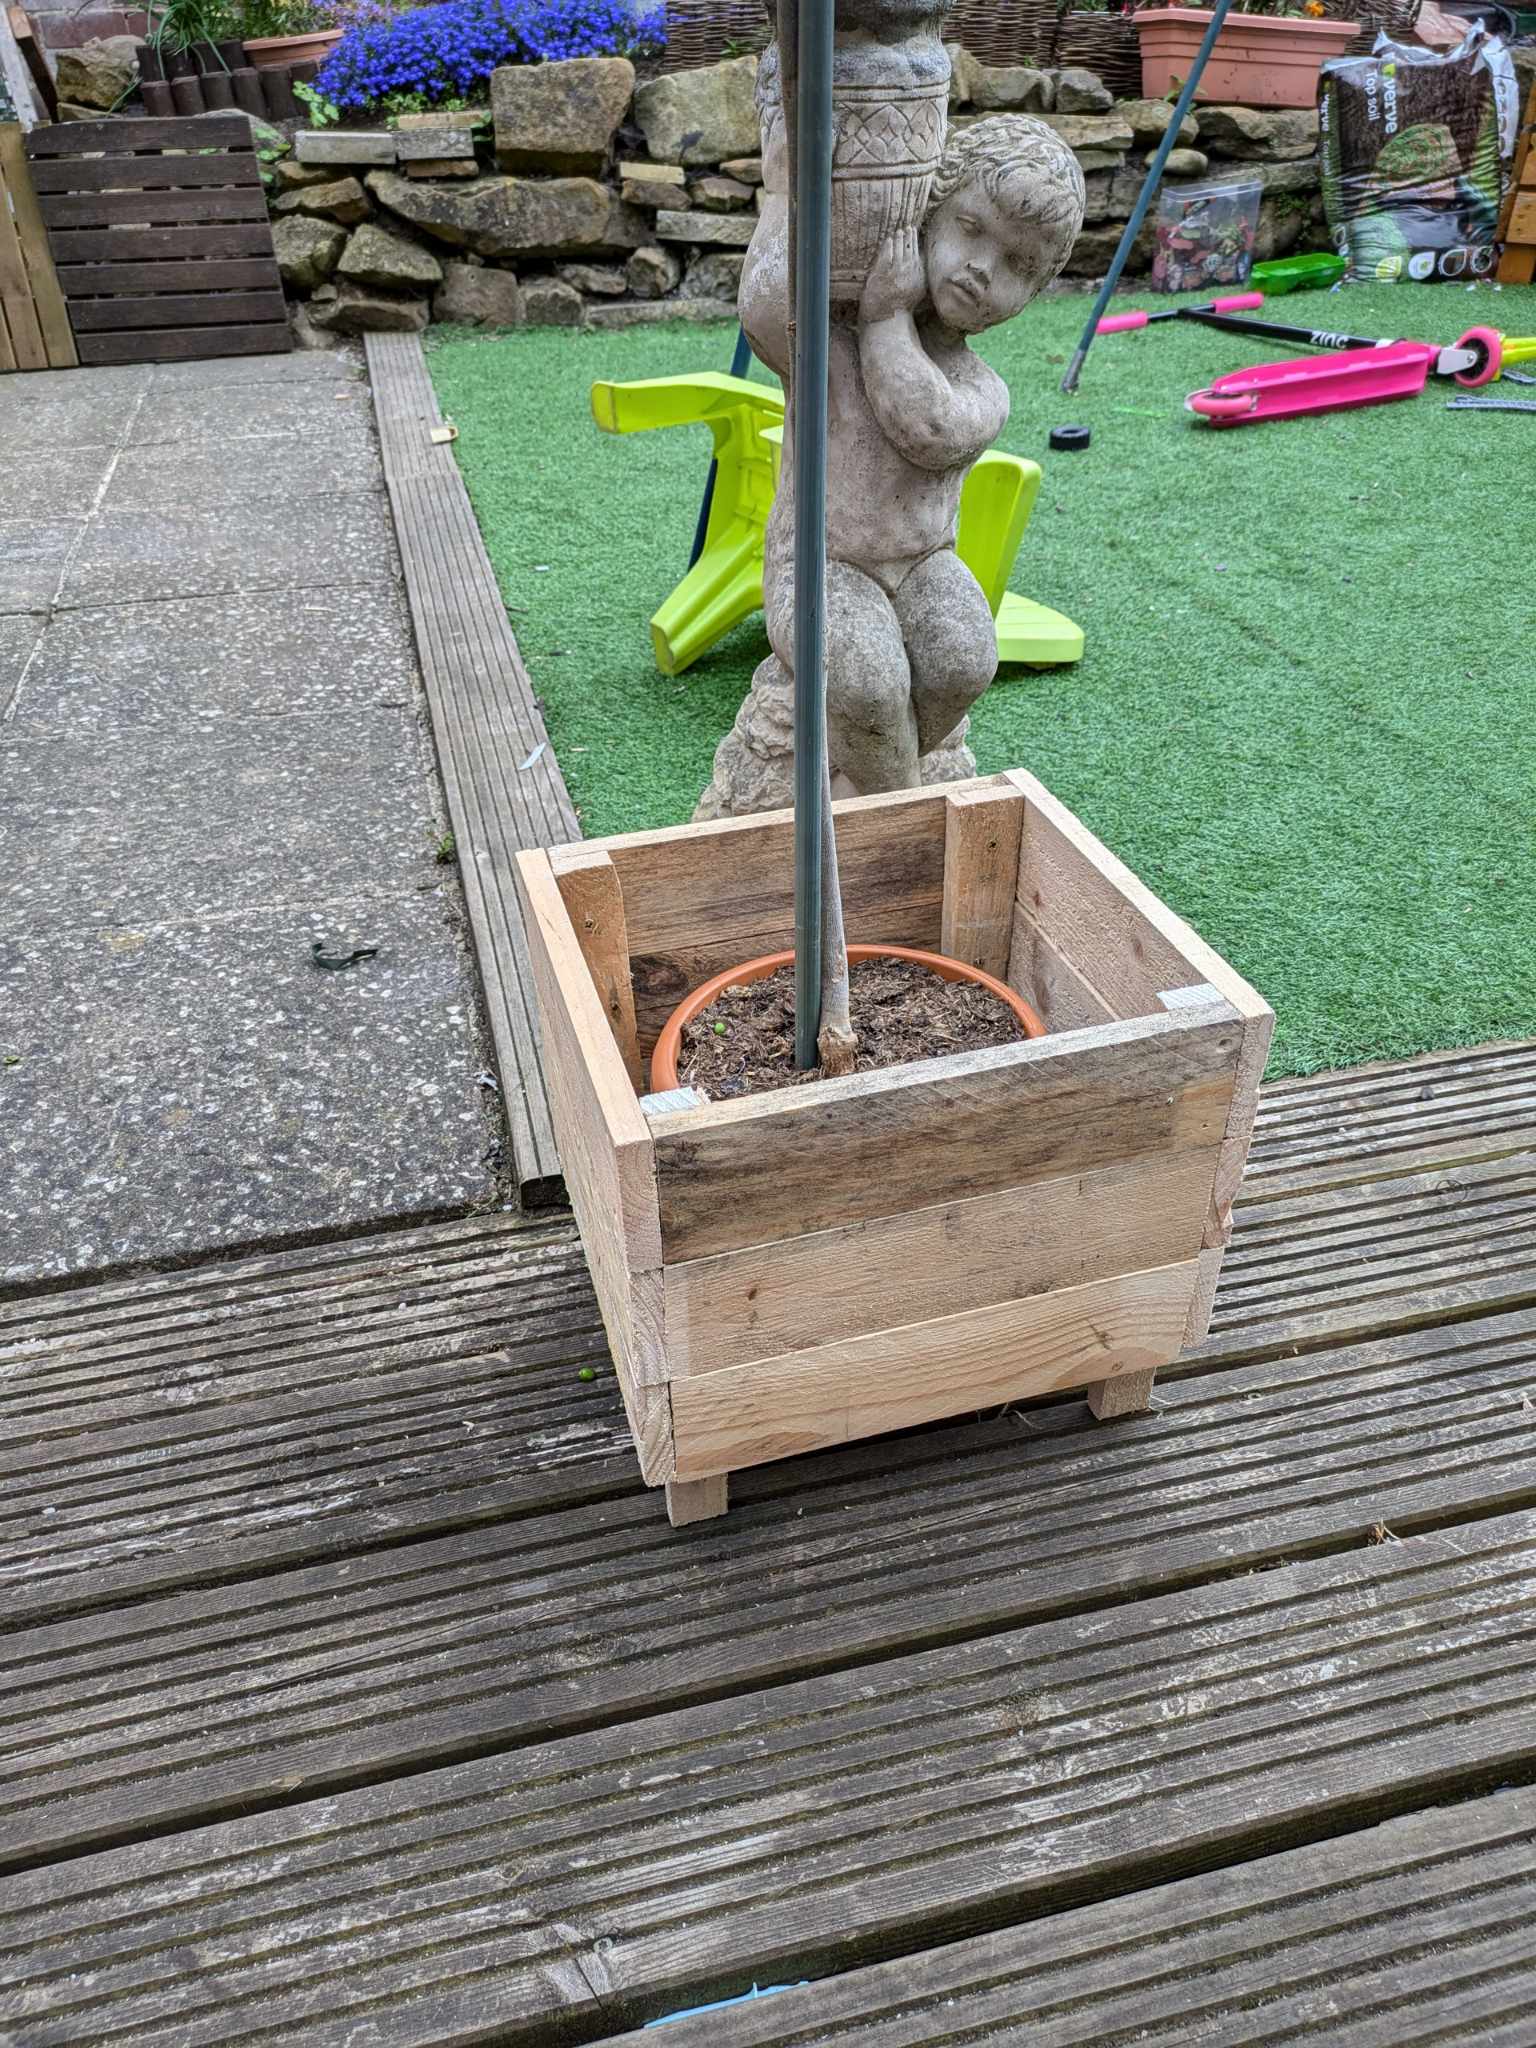
As of now they have been planed some more and made to look a bit cleaner. Still are not painted or stained as we can't decide what to put on them.
I am thinking of going more towards a dark mahogany stain to compliment the green leaves on the tree. But so far we are at an impasse on what to commit to.
If you have any recommendations then let me know please.
Now onto the build!
The whole build is done using just pallet wood and off cuts I had in the workshop.
https://img.inleo.io/DQmccRPgCK1WKBdsrx4ZkuNkWkGh9rz2Re4PxJADwi8WzWn/CHuHlE3e.jpg
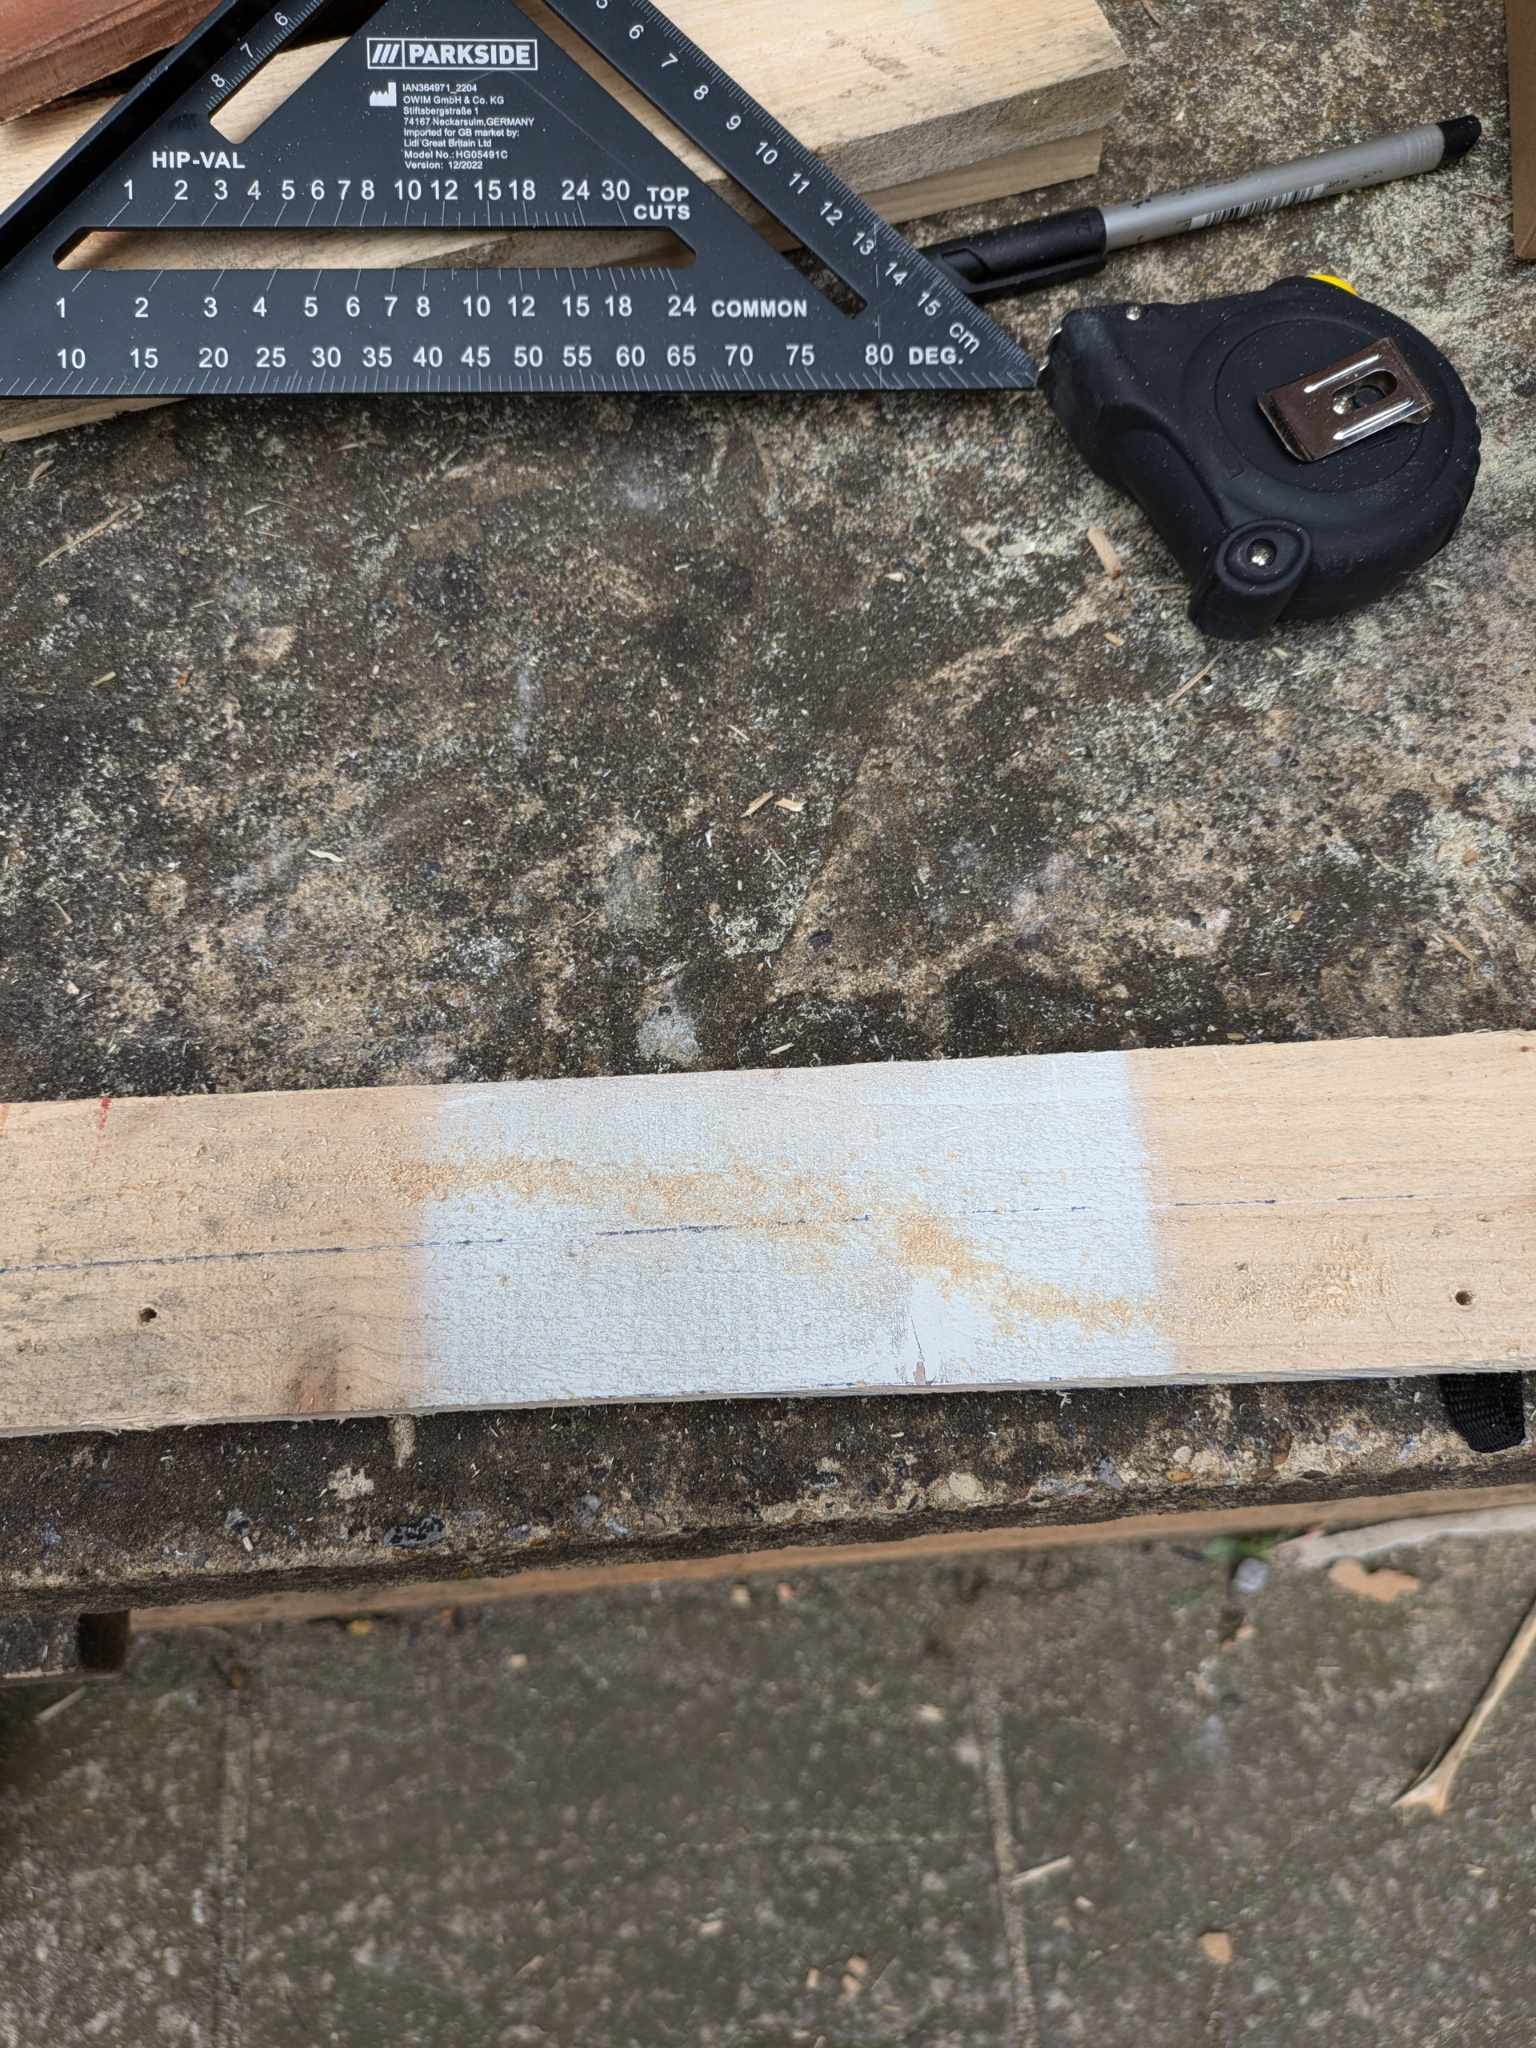
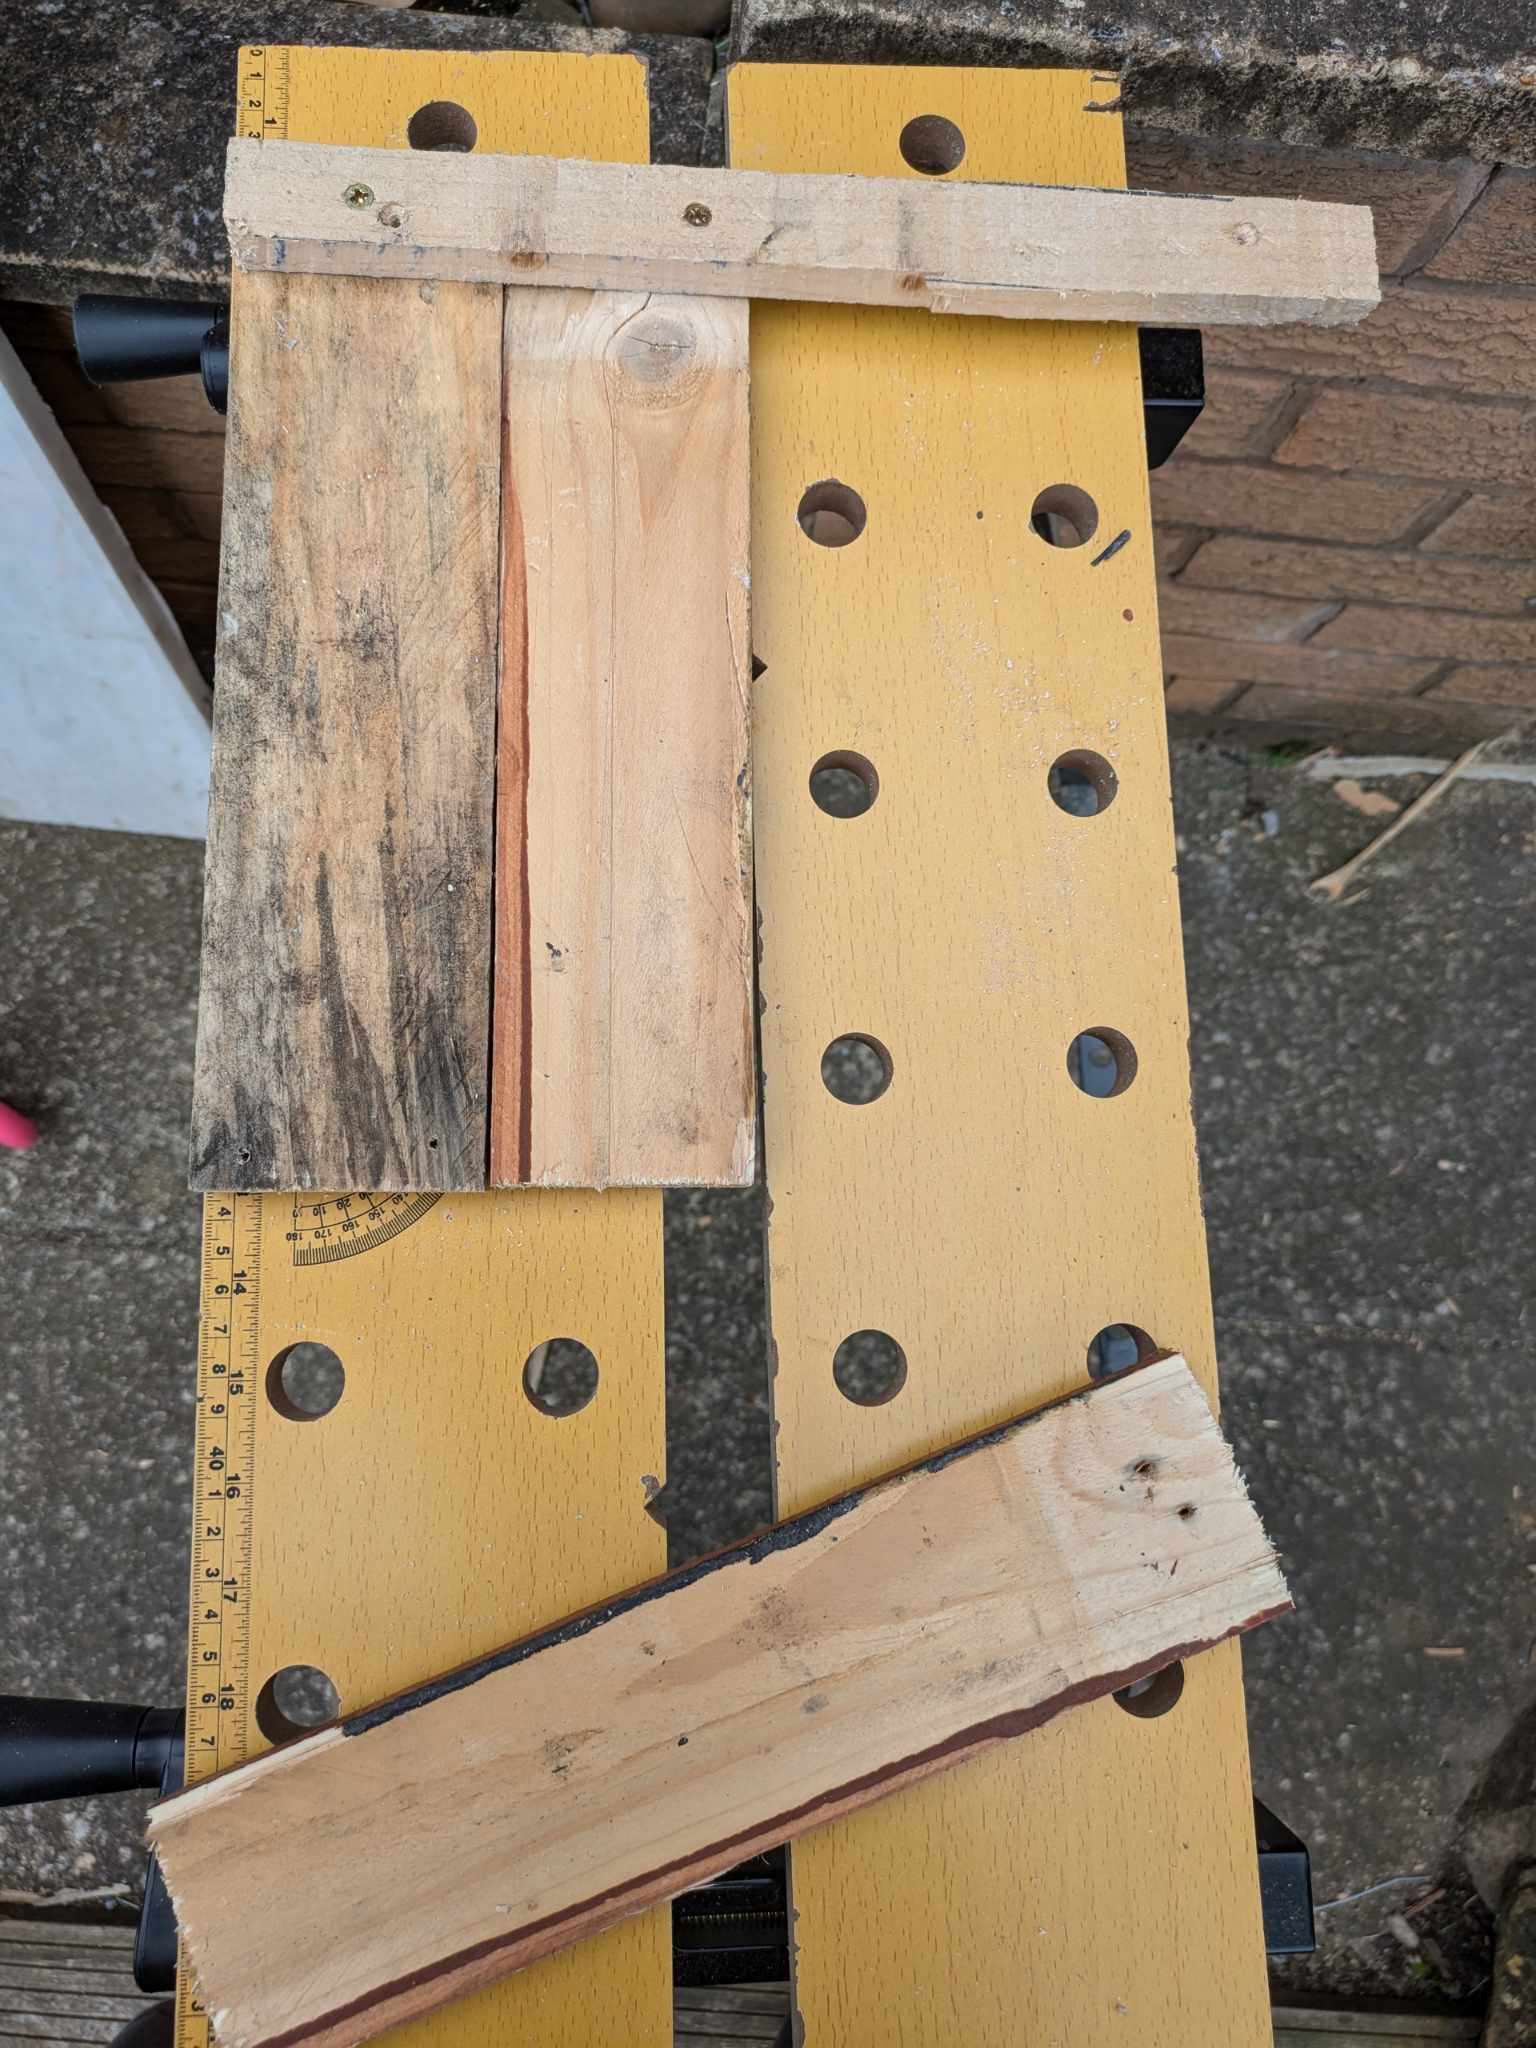
I started by cutting up some lengths of wood I had in the workshop.
6 lengths at 28cm and 6 lengths at 31cm.
These were to be used for the sides of the planter.
https://img.inleo.io/DQmQBdwWEhtcTQEaDVmZ3Ao44nmKUT5kk3kVvbzrLhUPvNu/p97T3ssT.jpg
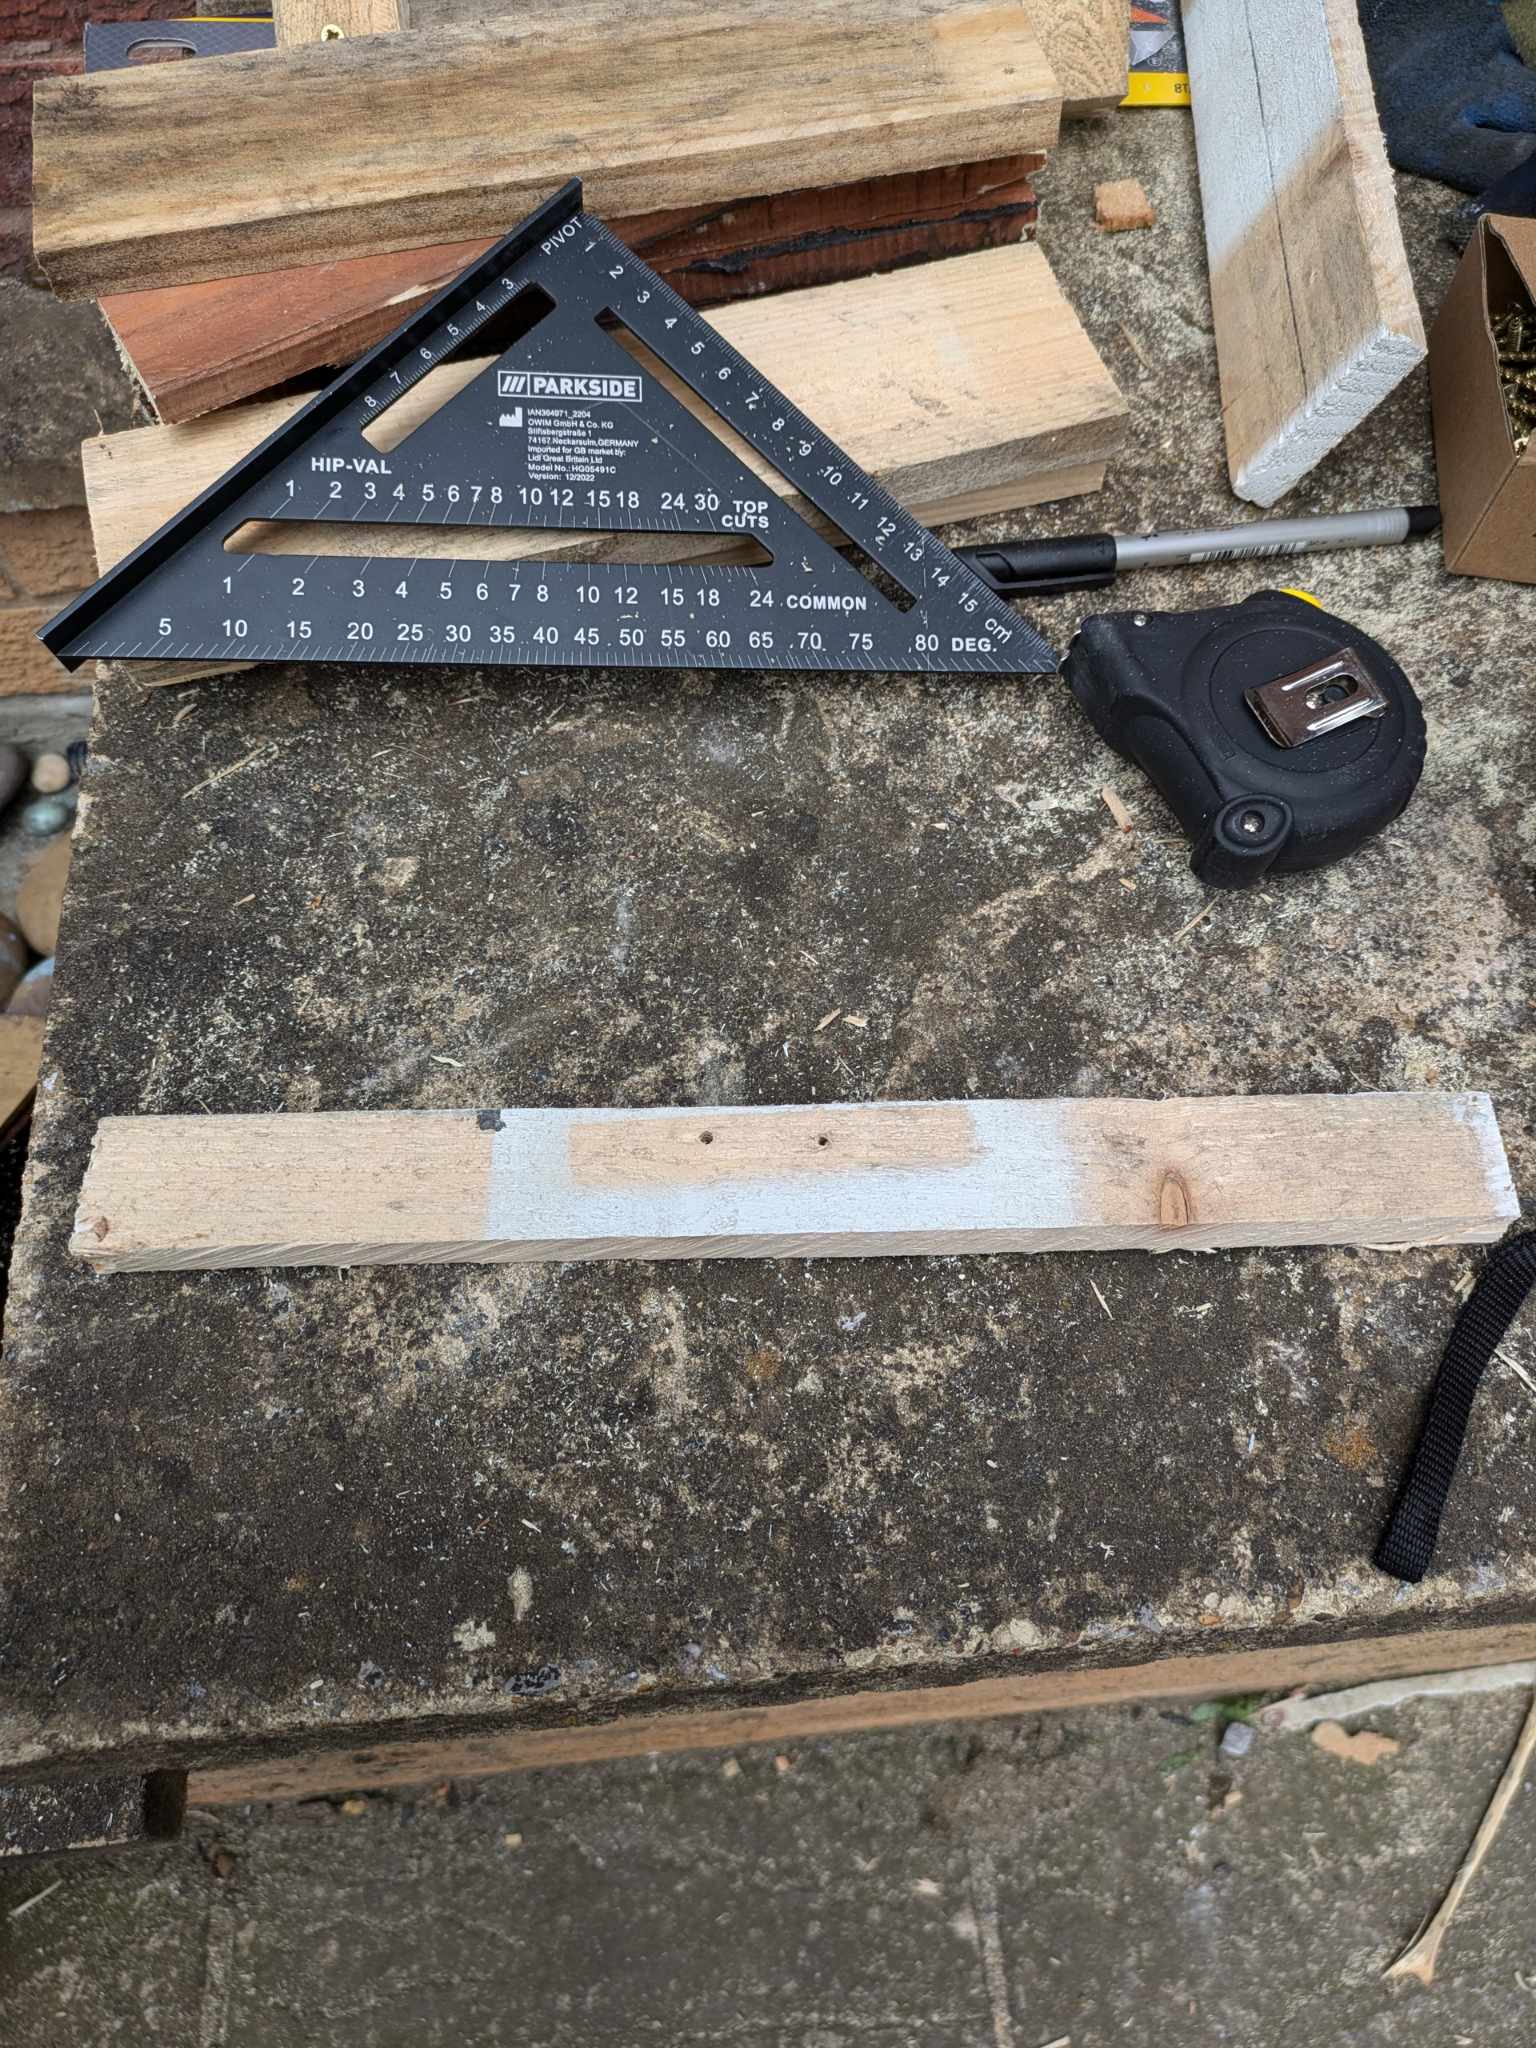
4 lengths cut to 28cm. These were to be used as the supports inside the planter and to incorporate some feet into the design to aid with good drainage for the olive trees.
https://img.inleo.io/DQmeaWoNNTFW8XH7xeiD7Ts6r3MNaZRjtsTetK3KcsAX4sq/DRobgjxQ.jpg
These were cut at 2 lengths of 28cm for the underside of the planter. This allows the plant to sit off of the floor while maintaining good drainage all round.
The boards are quite wide so it made it a better fit underneath as well.
https://img.inleo.io/DQmaxeYHirvUgf7KQSkpPXPAbu9B1ZcKoTED8KWb3KoX936/PwUX2d89.jpg
I used general purpose wood screws which I know rust over time but they have held together a previous planter now for well over 2 years with no issues so far. This is while withstanding the very wet conditions over here.
Due to the rough nature of my work so far I don't want to waste money on buying good screws just yet.
4x30 screws were used. I will be covering the heads with sawdust and glue once we decide on what to finish it in.
https://img.inleo.io/DQmZym131vbjxuBLpVrsxyDh3NnC9TNSaS3GJAnhXmhZz4q/_R_tVESt.jpg
https://img.inleo.io/DQmT2MabbTM7CQqvxh6bgPy5qNu17ZzvzpyosVKDrPp5gXd/xkoX1530.jpg
https://img.inleo.io/DQmXHLJvt7TvymZk9UZAguVQrVJpQ8VBC3xvz11tpYH4u2c/Y-sMC7--.jpg
https://img.inleo.io/DQmcMptuh7ixX6f1RT9559QACepN2zmxLsZ6zW7REraJ2ej/agkWGt1I.jpg
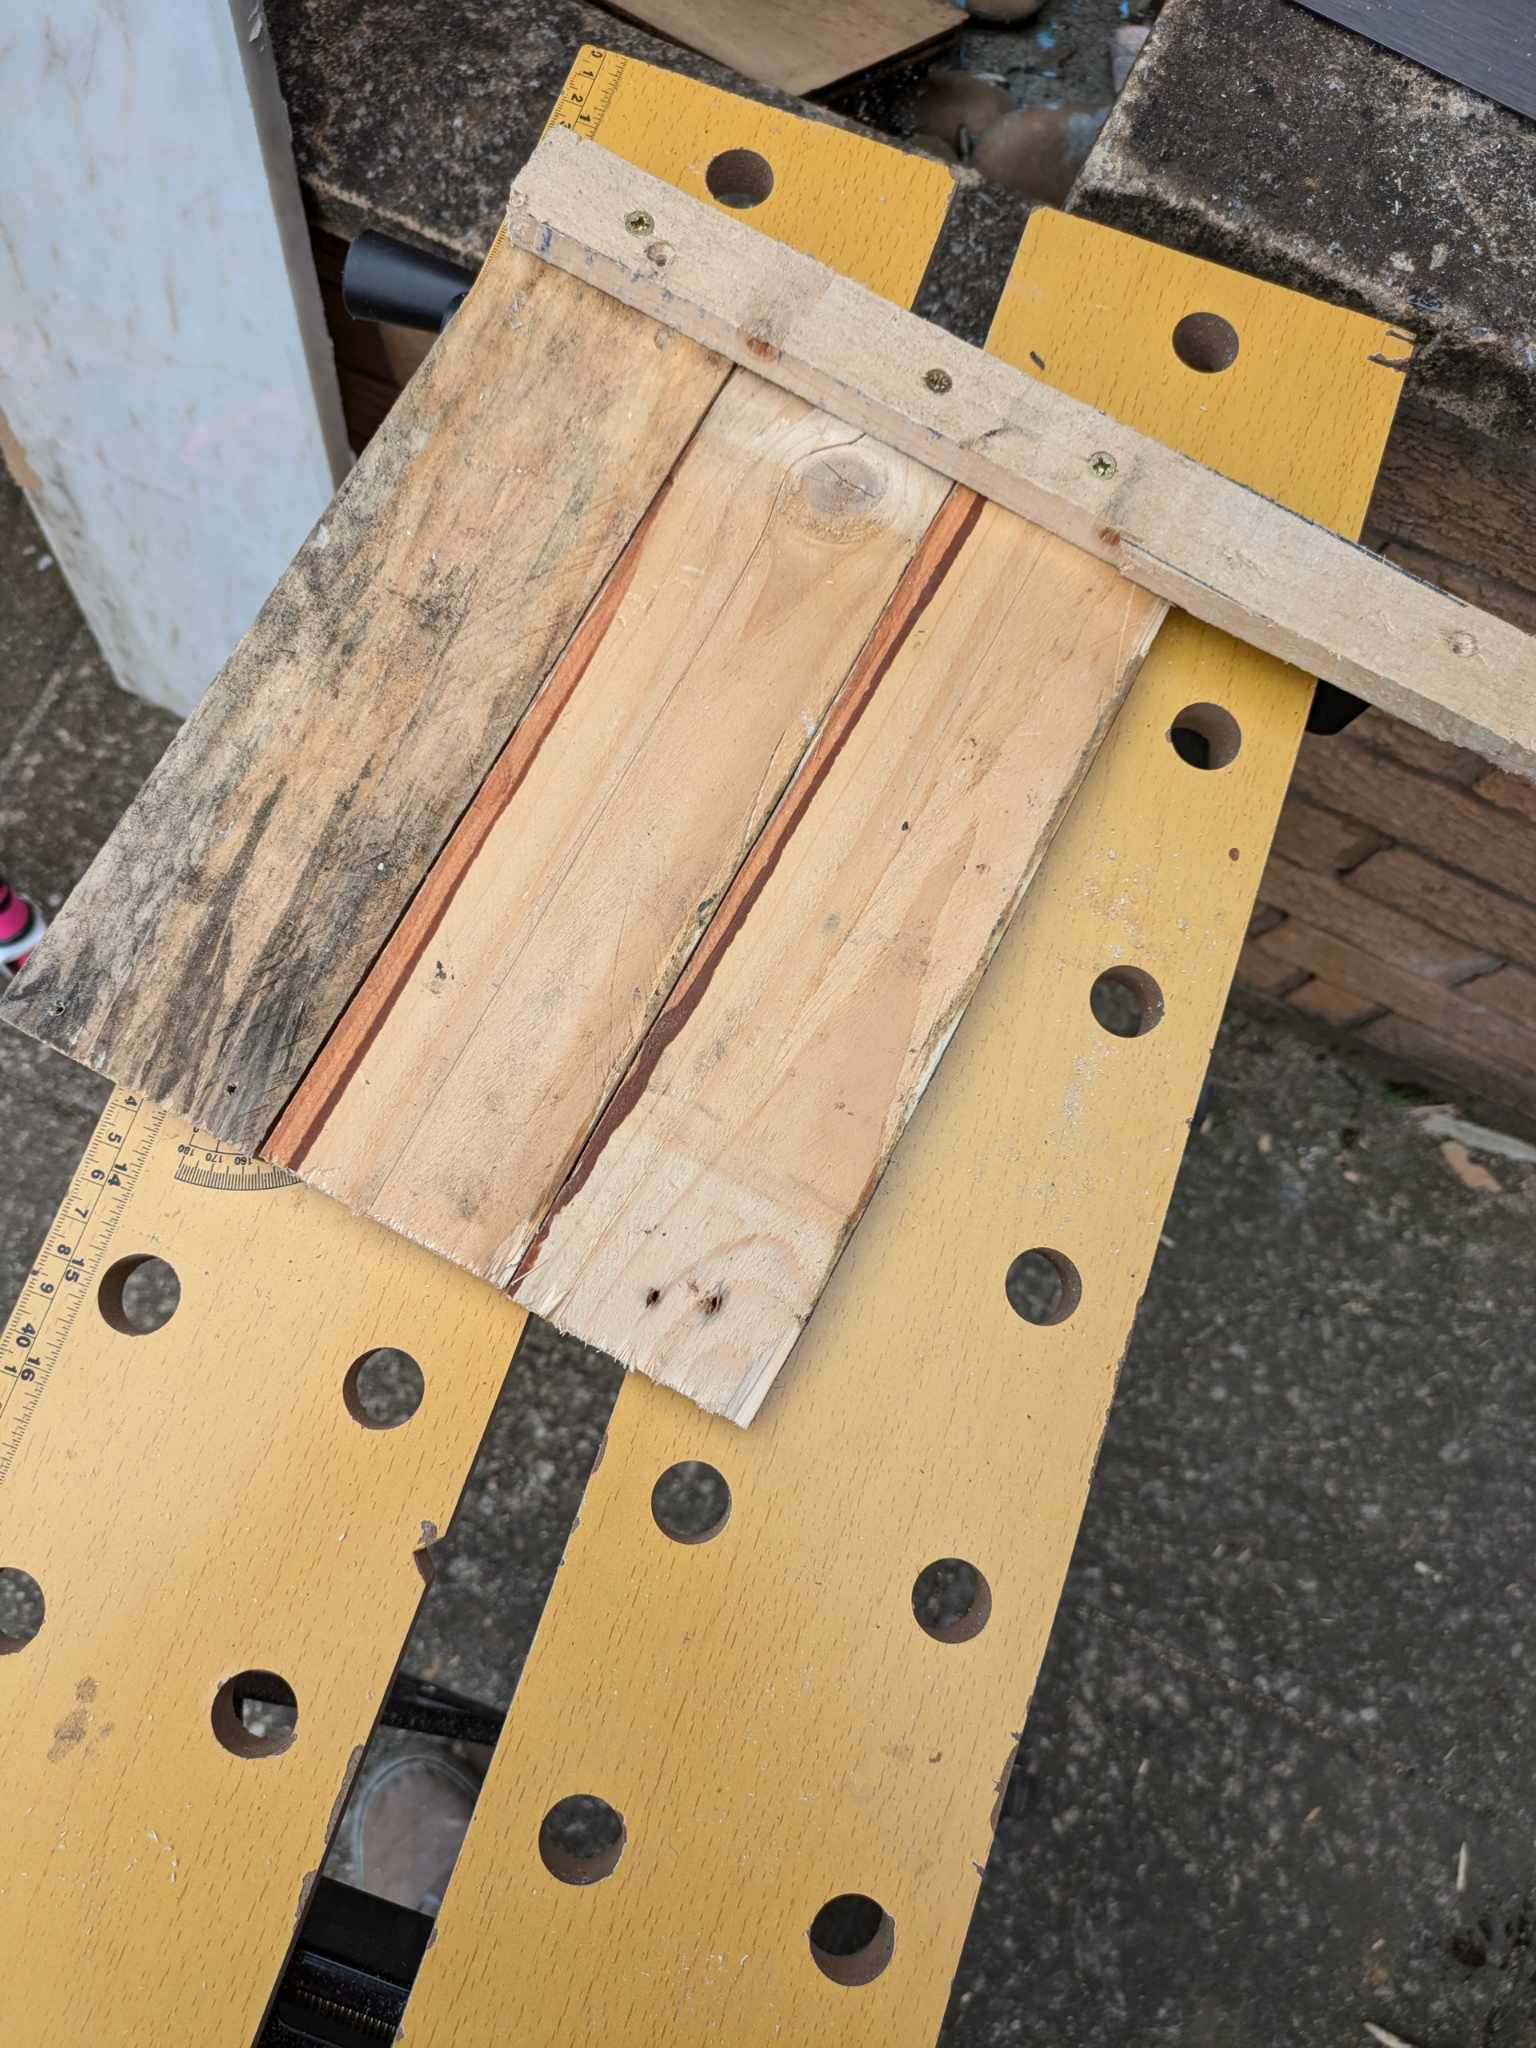
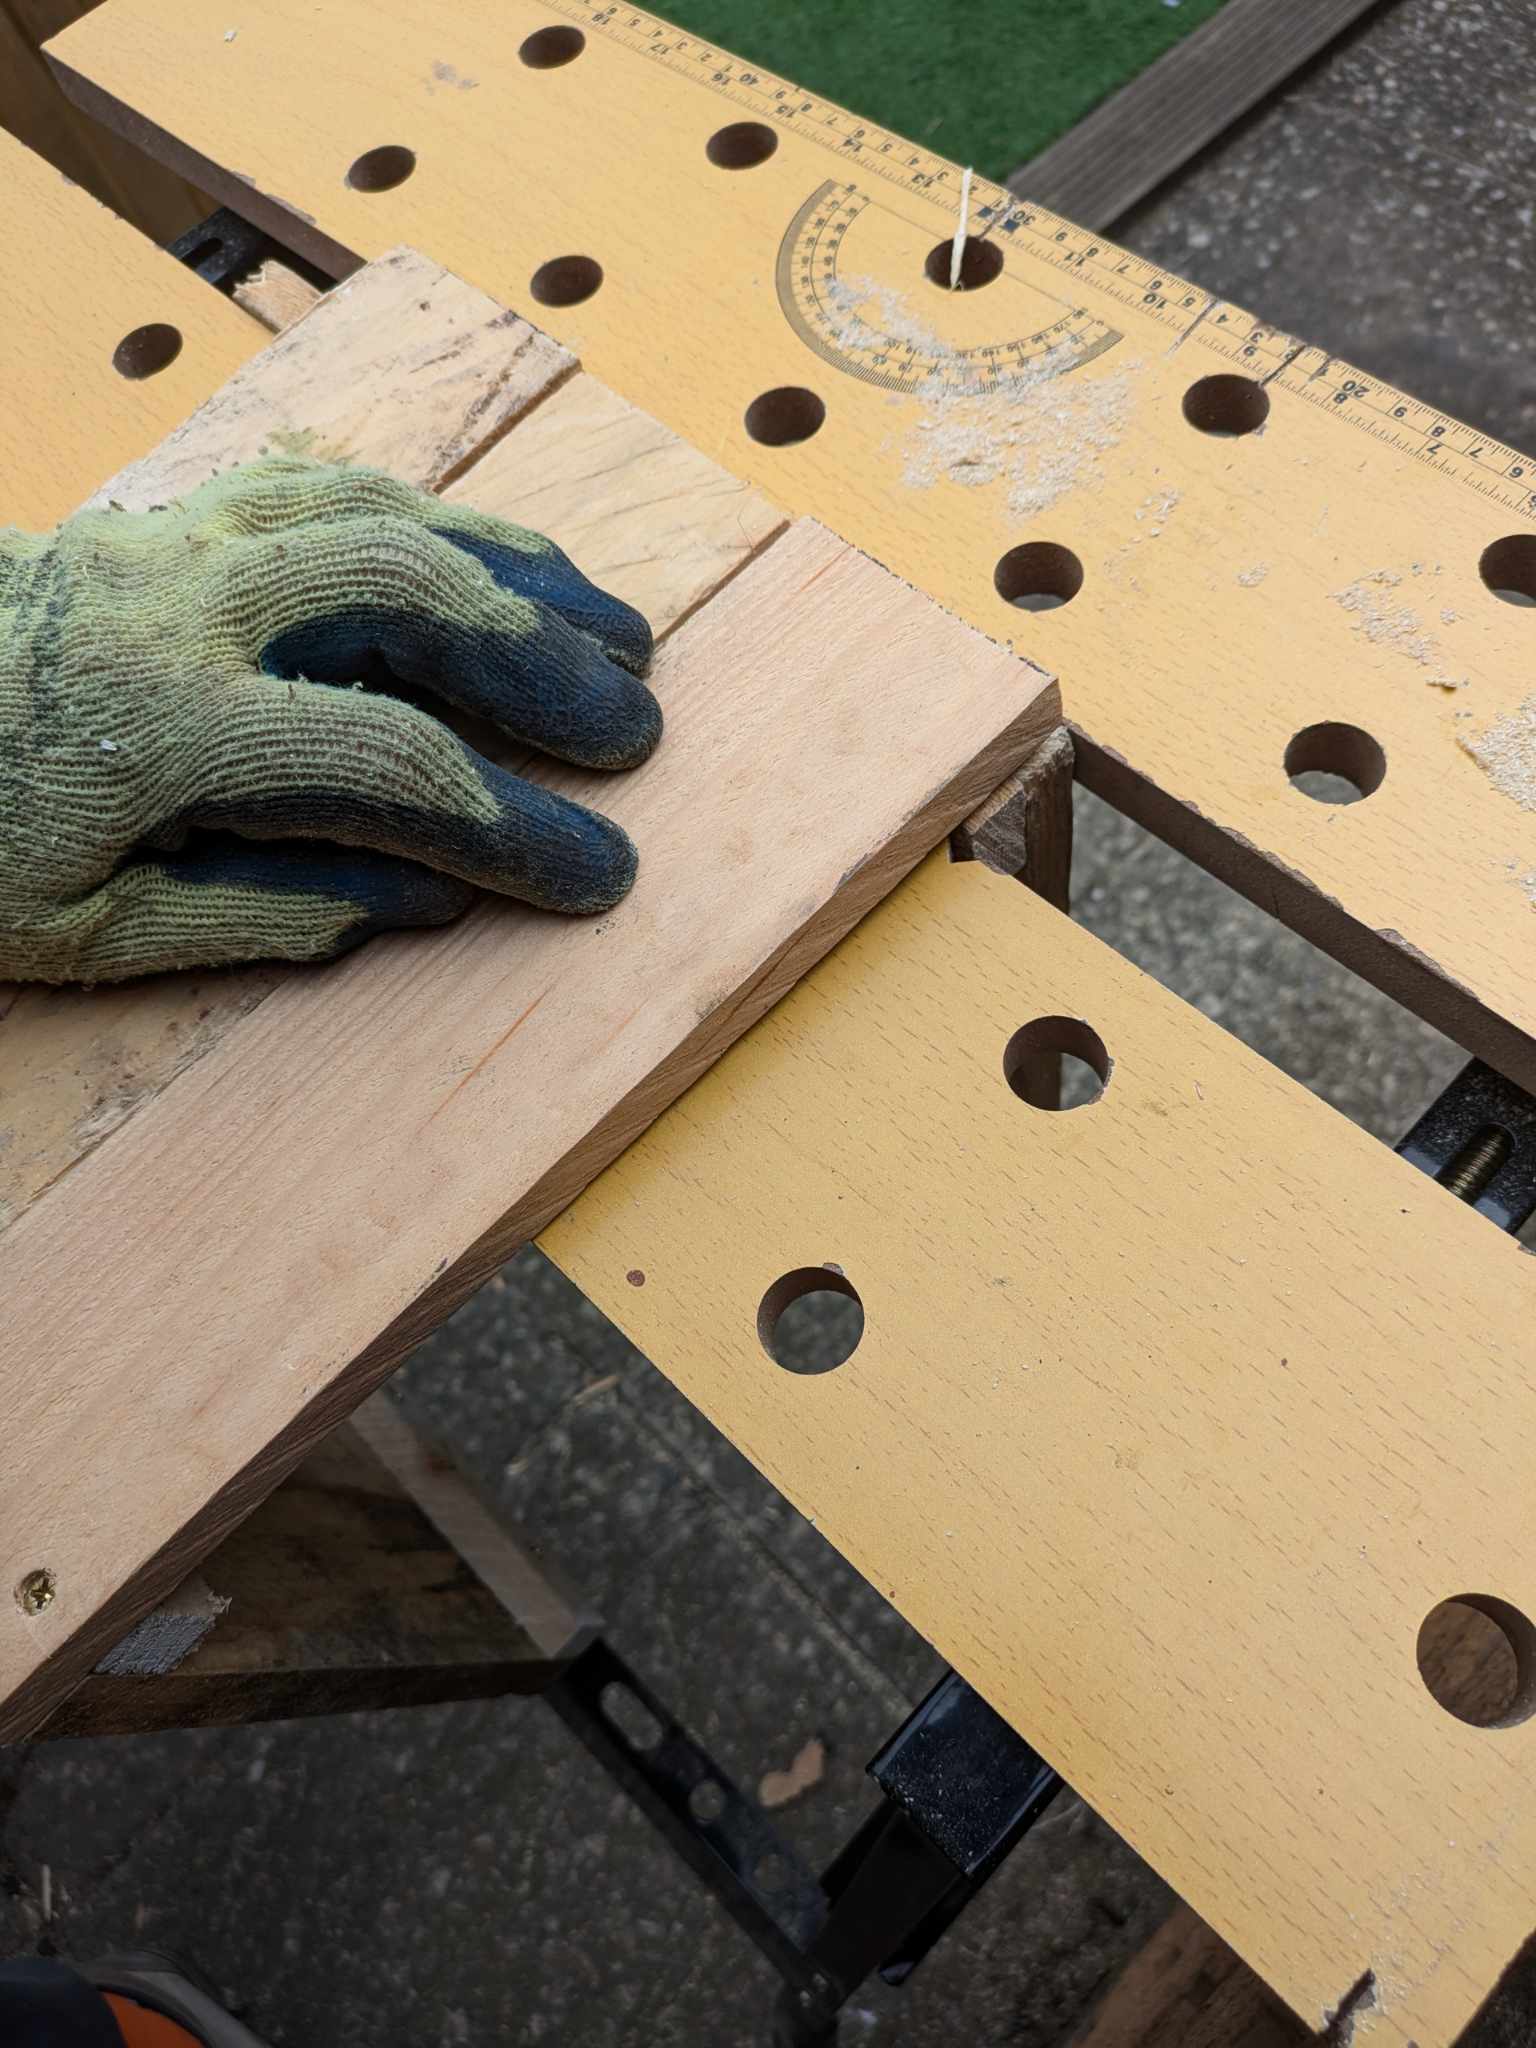
Once the 2 sides with supports were made I had a real struggle sqauring it up. This is where my workmate came in handy.
I secured it in the middle of the workmate to give me a flat edge to work with. This allowed me to get a reasonable attempt at a 90 degree angle with some good precision.
https://img.inleo.io/DQmaWaiNpmaU6sVr42w1Y3TUyNSMUDT8zqXDqMAvTiJ7KVW/s01lda6e.jpg
It really did help and sped up the build considerably.
https://img.inleo.io/DQmTt2fz4SRDGNJKLAWjnobFVqEuTDHz3nFhhcSPWpvDEMX/29u_s1w9.jpg
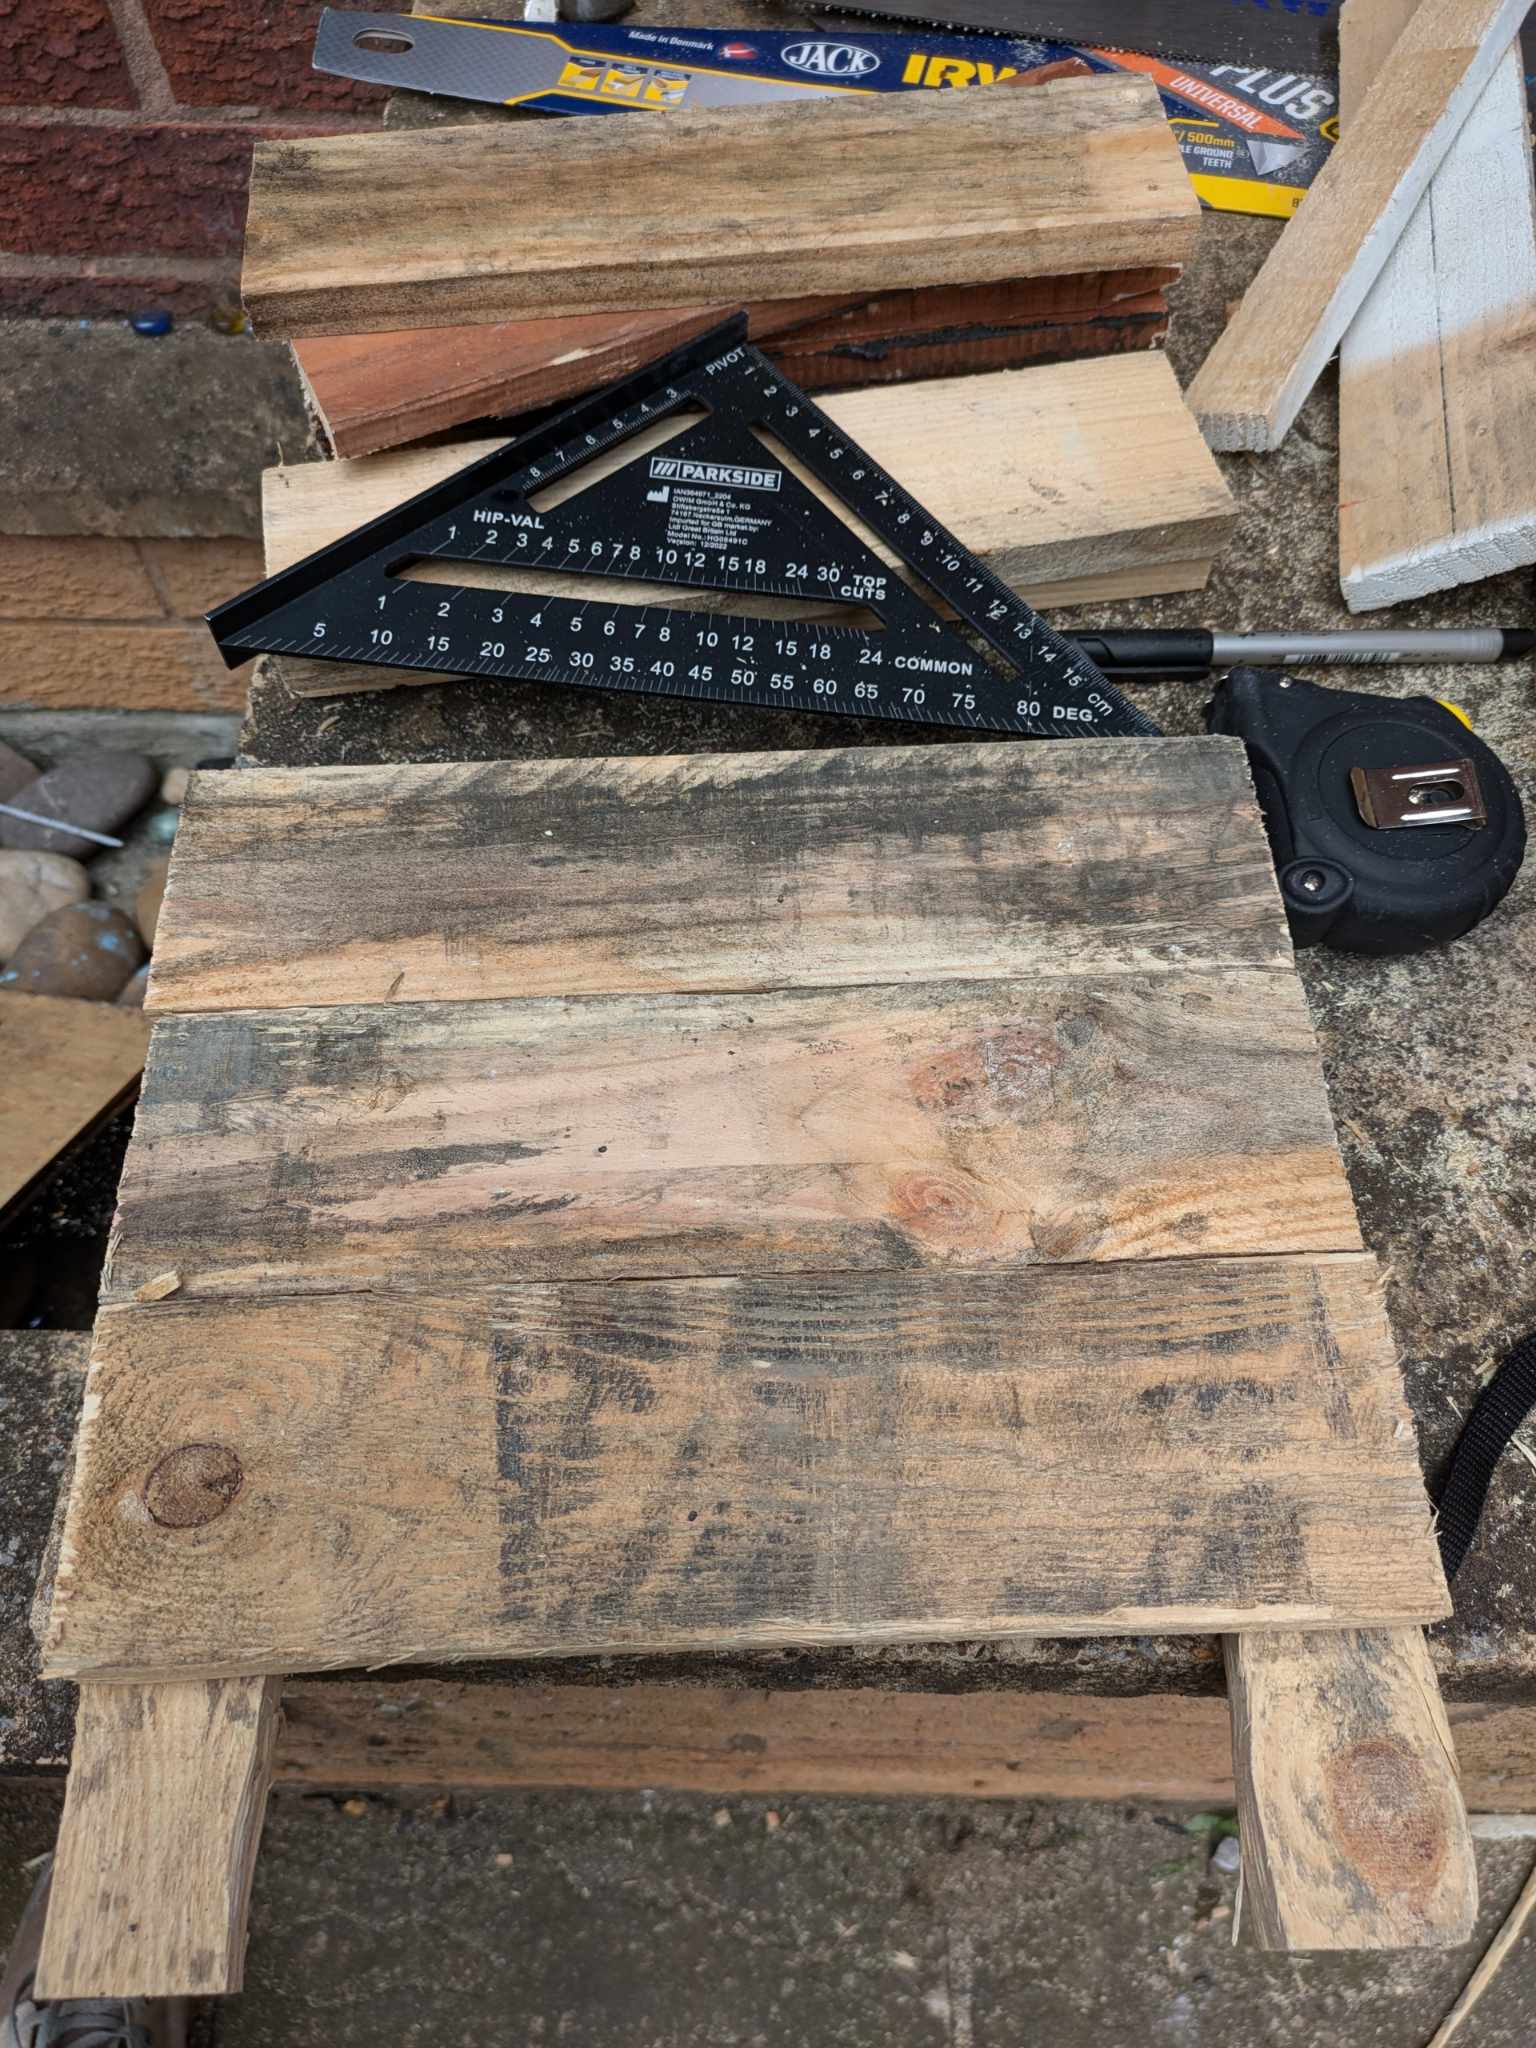
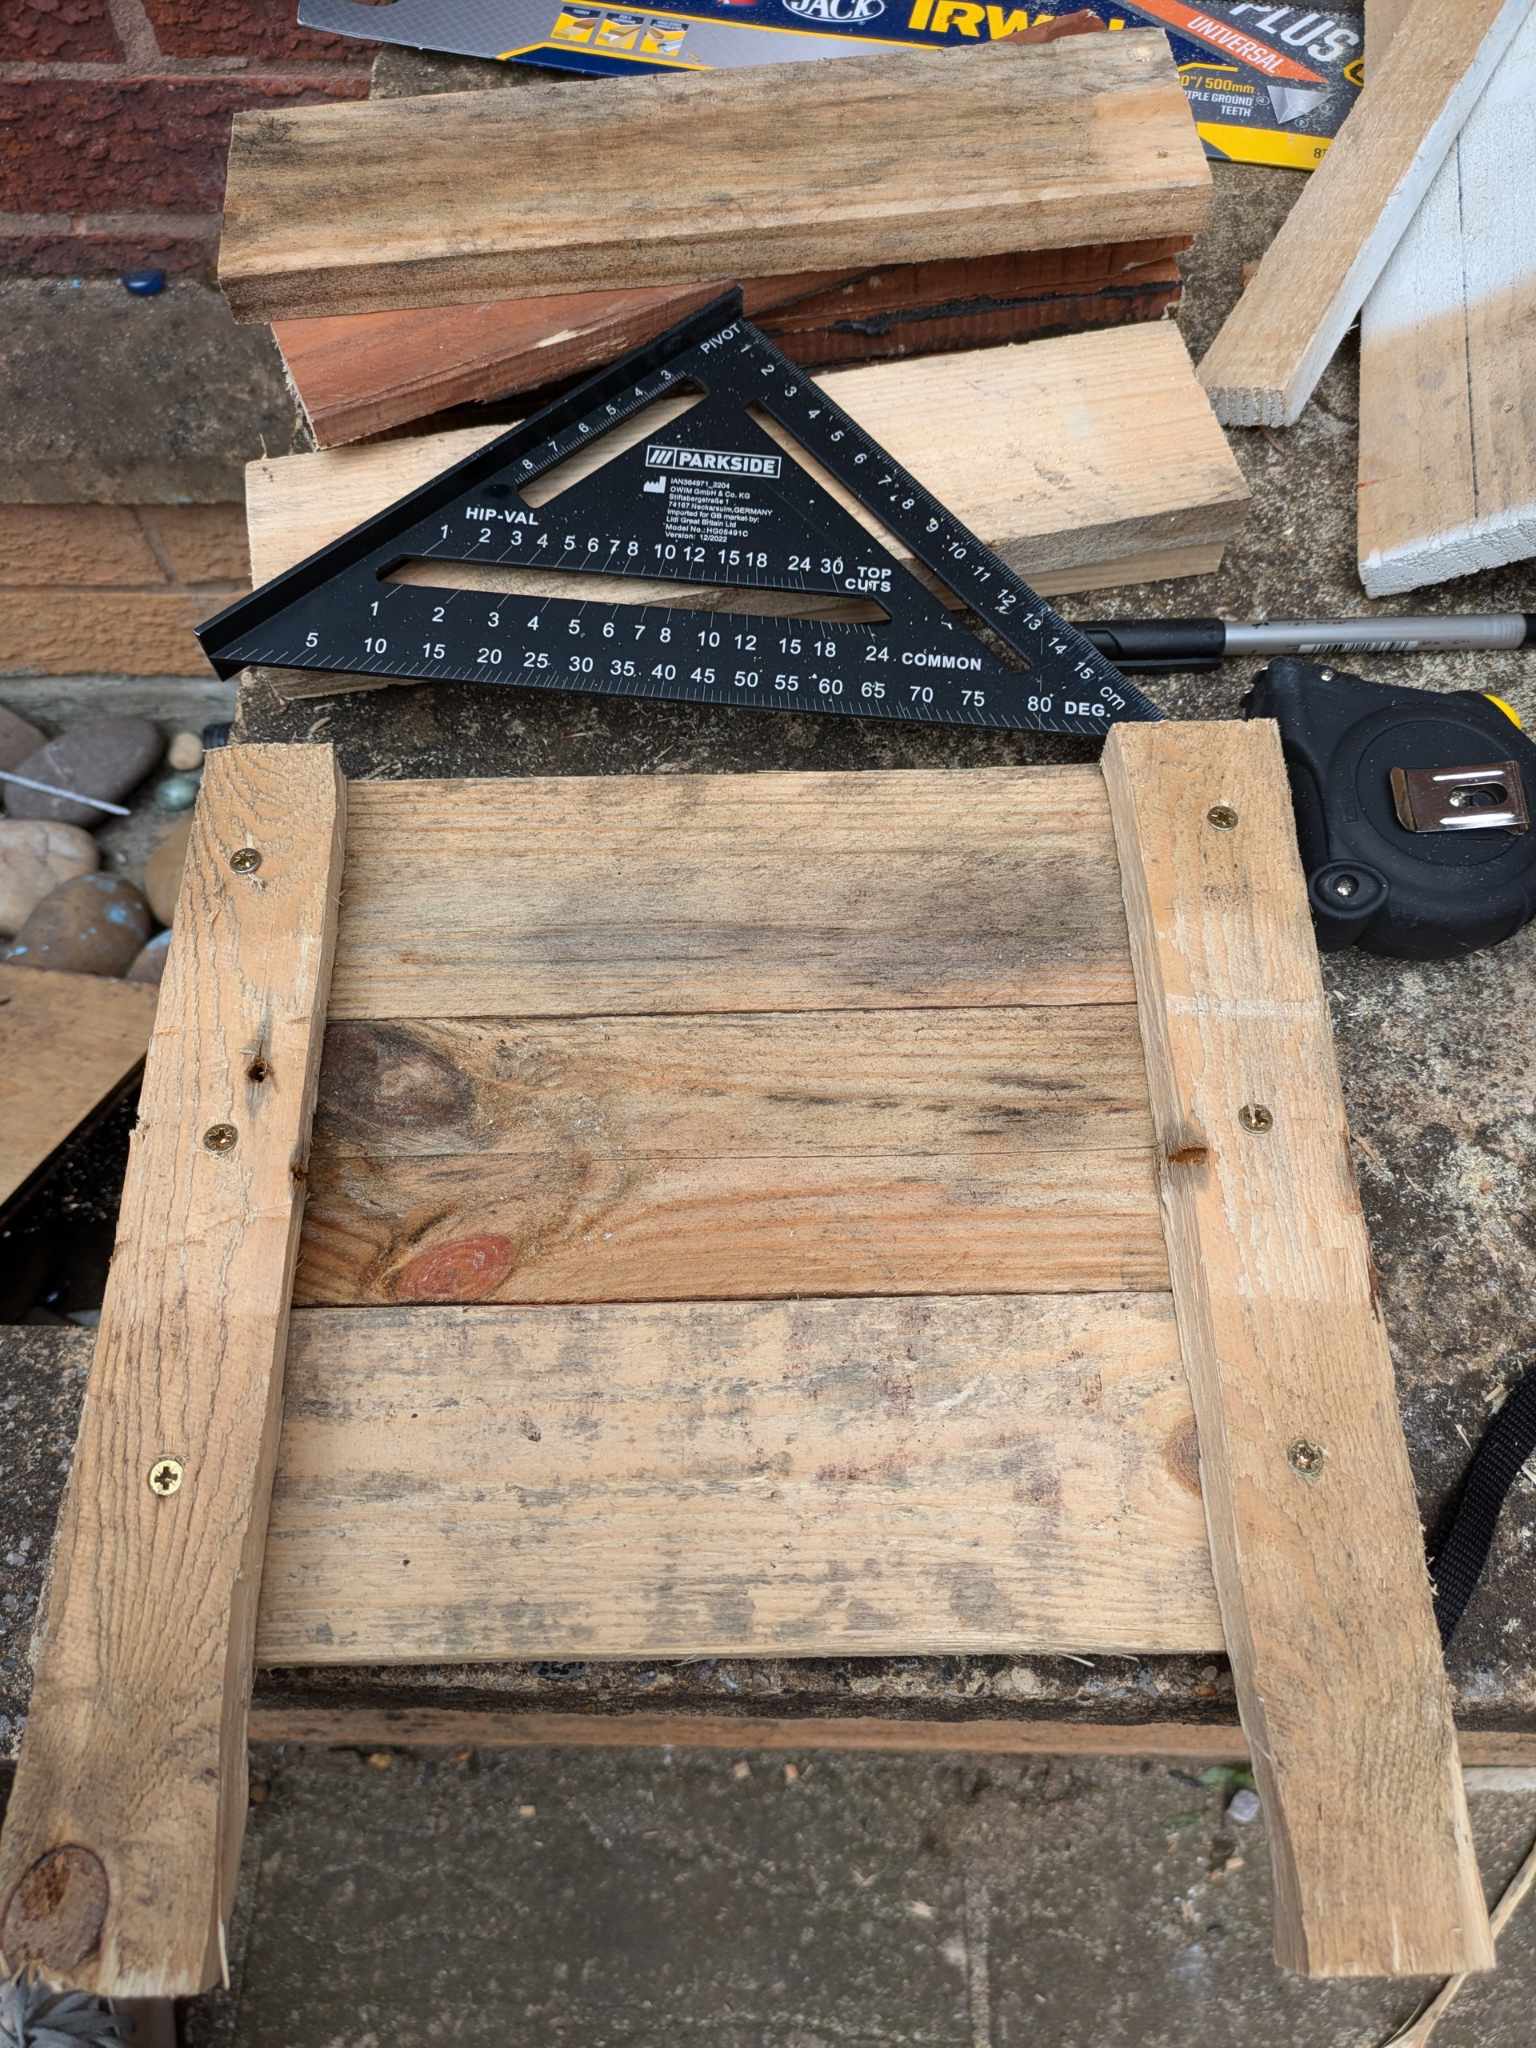
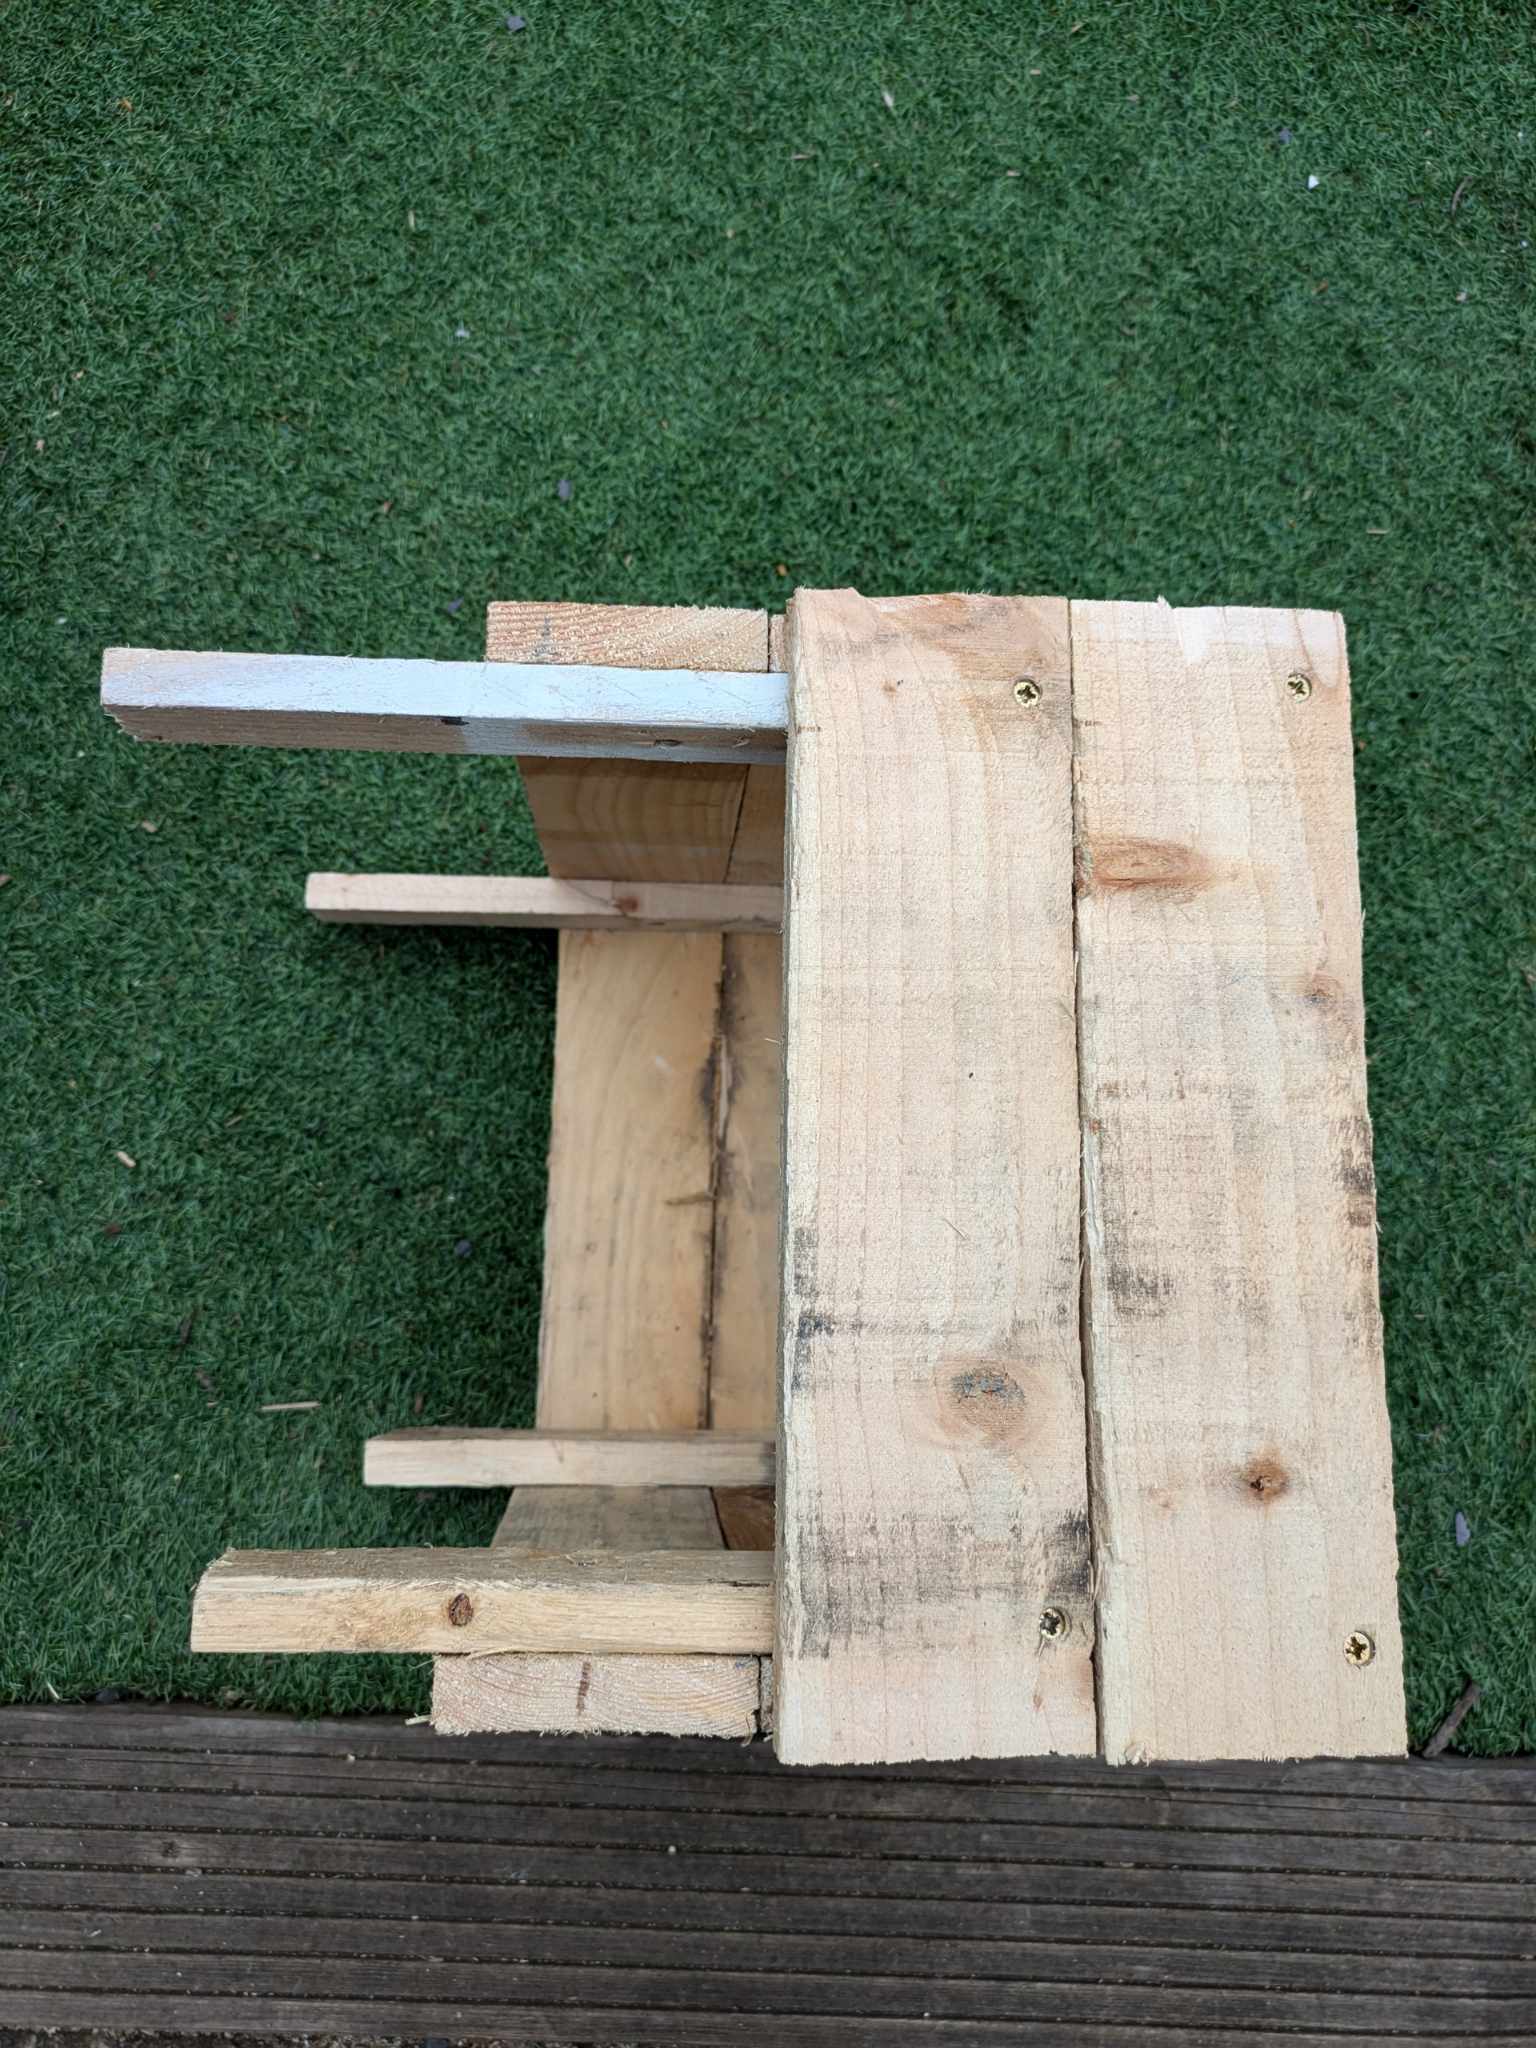
Once it was put together I went over with some 60 grit sandpaper to tidy it up a bit.
https://img.inleo.io/DQmdmTh3N9e7usX5bLLDuTDAJpWc5zjHrLUBwwpka6Cbpr7/sQCd7Ywo.jpg
Since planing them they do actually look quite nice. I smoothed over the edges and rounded the corners a bit to make it less of a boxy shape.
Once we decide on the finish I'll show you all.
Tools used:
Handsaw
Tape Measure
Carpenter Square
Cordless Drill
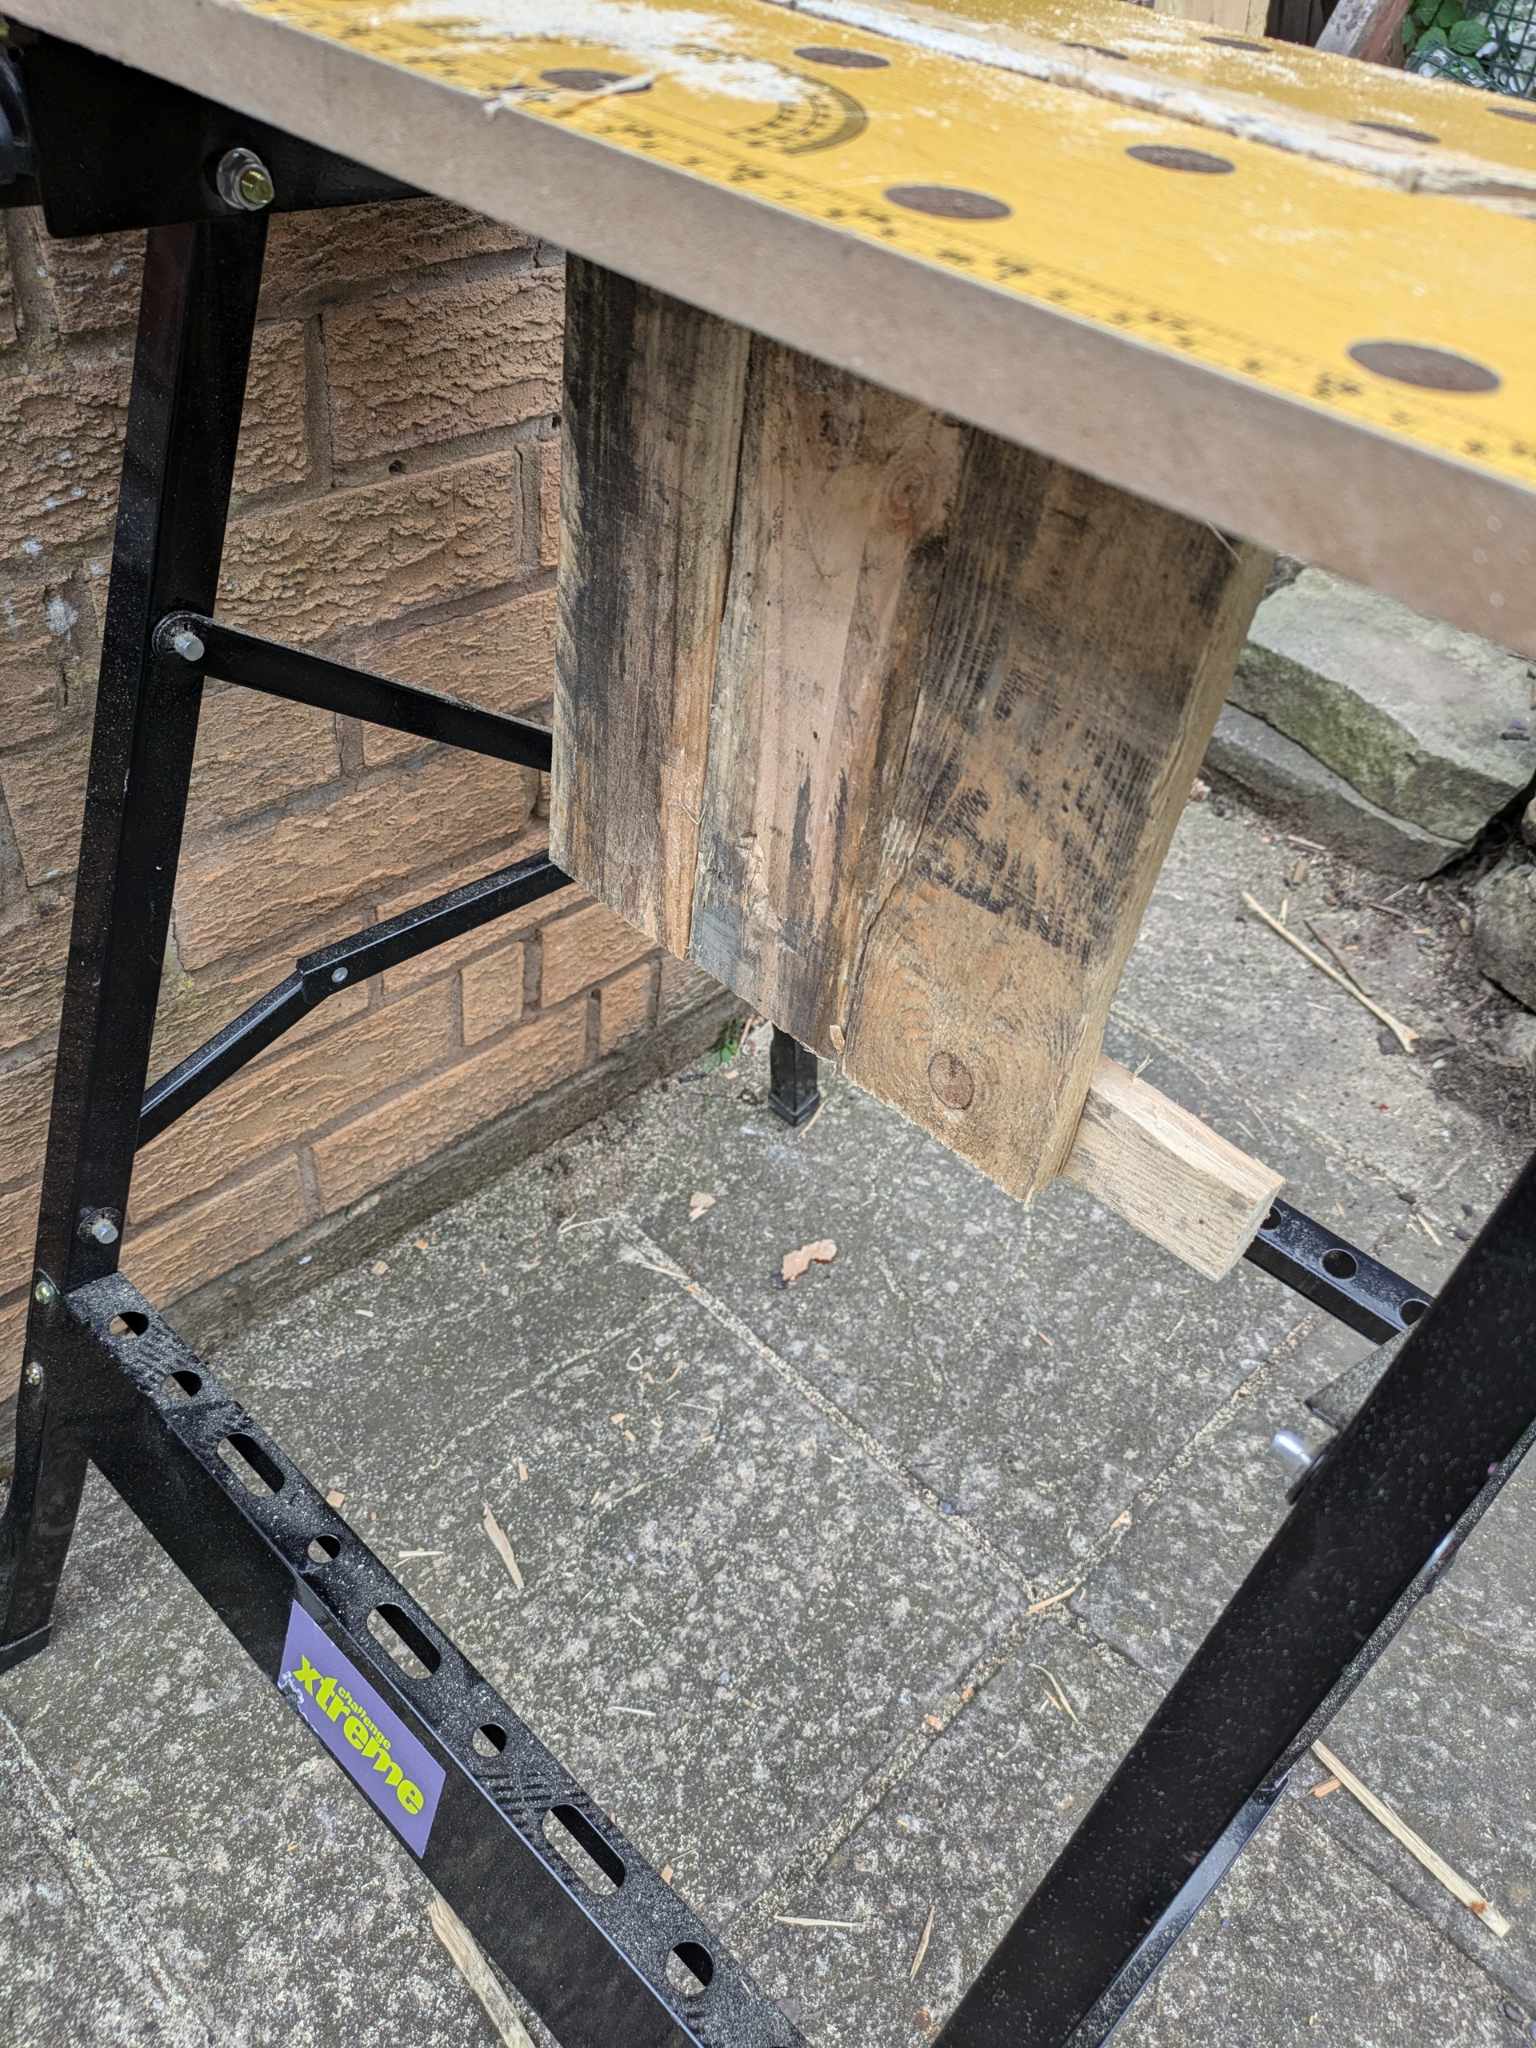
Workmate Saw Horse
Posted Using InLeo Alpha
Comments