AI Portraits Plus - AI Video Art and Human Experiences [en/spa]
30 comments
A lot had been said about them, half reality, half legend. This is what happens with all the heroes, and these in particular, were admired and venerated almost as if they would be gods. How little was talked about the piles of corpses and blood streams that they left behind. For the victors, they were heroes. For the losers, just assassins.
Mucho se había dicho de ellos, a medio camino entre la realidad y la leyenda. Así sucede con todos los héroes, y estos en particular, eran admirados y venerados casi como si fueran dioses. Qué poco se hablaba de las pilas de cadáveres y regueros de sangre que habían dejado a su paso. Para los vencedores, eran unos héroes. Para los perdedores, simples asesinos.
AI Art Experiences
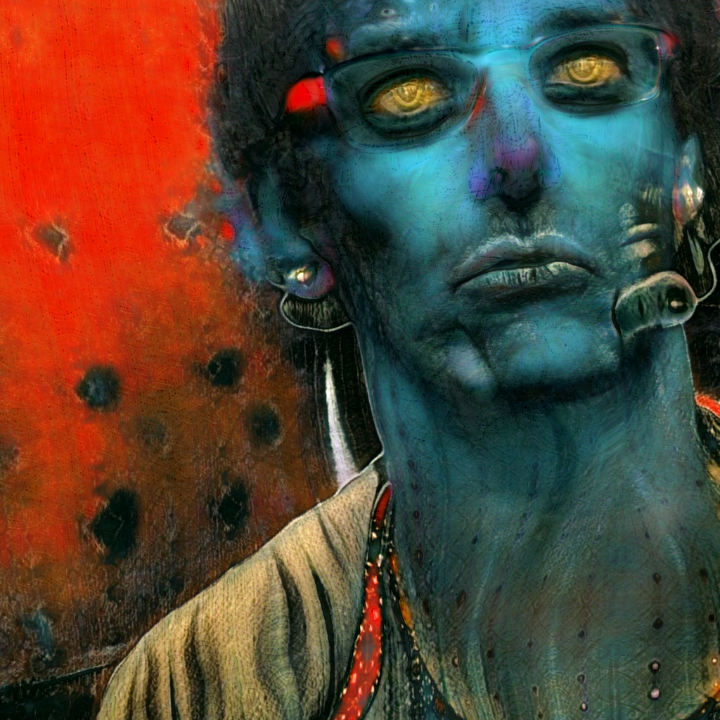
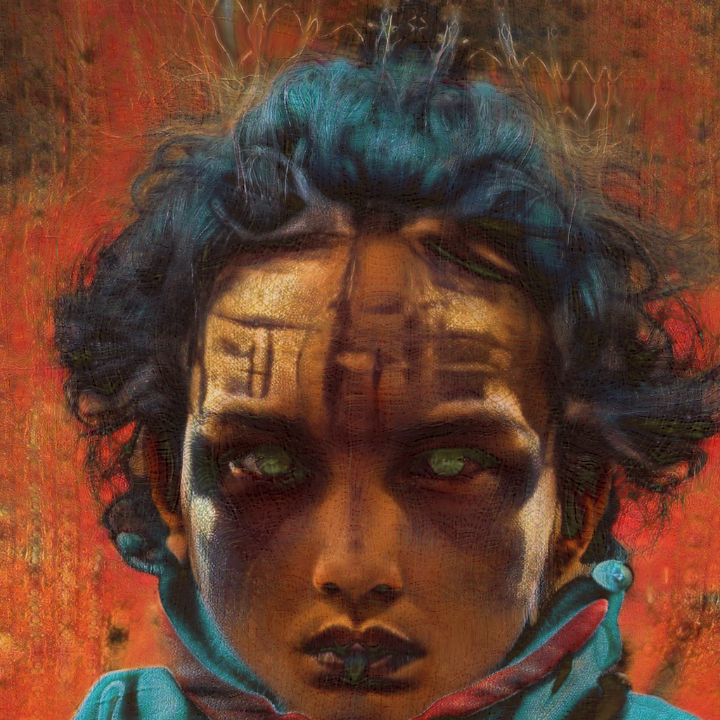
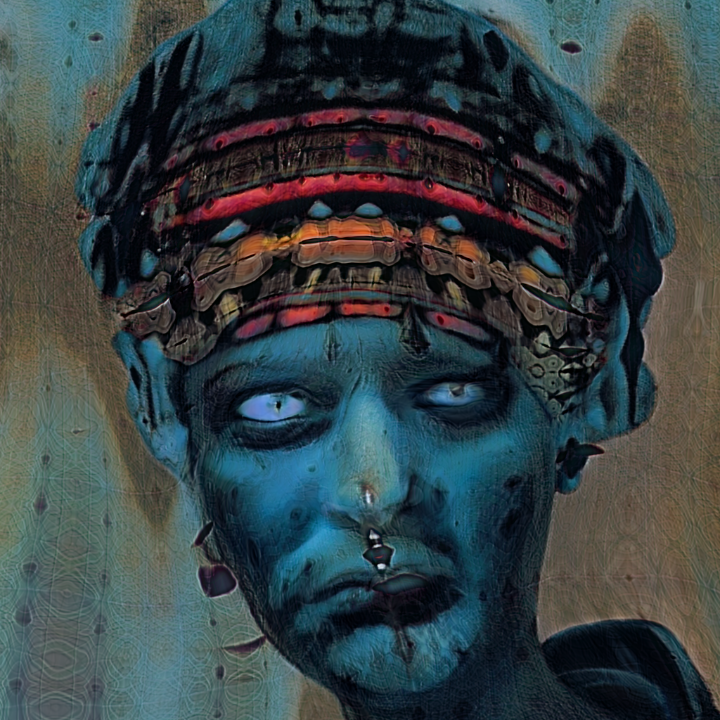
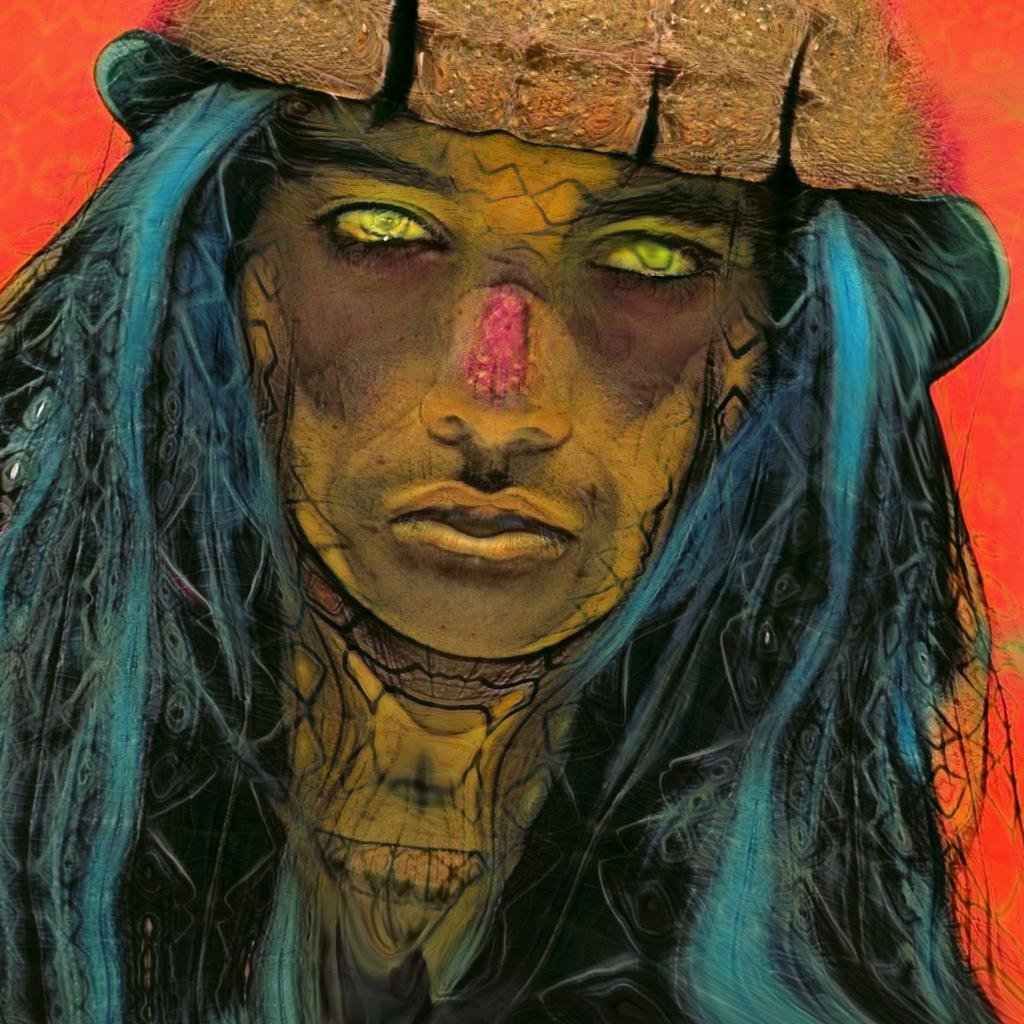
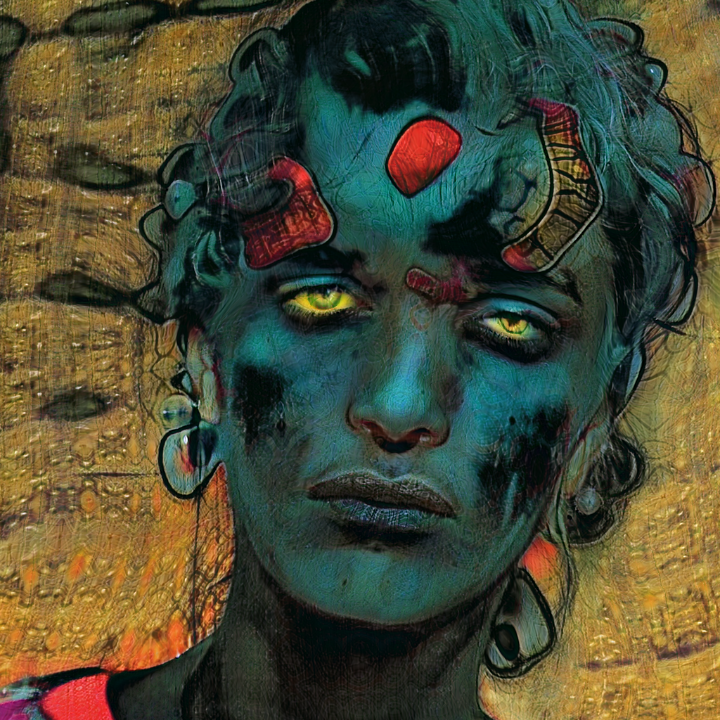
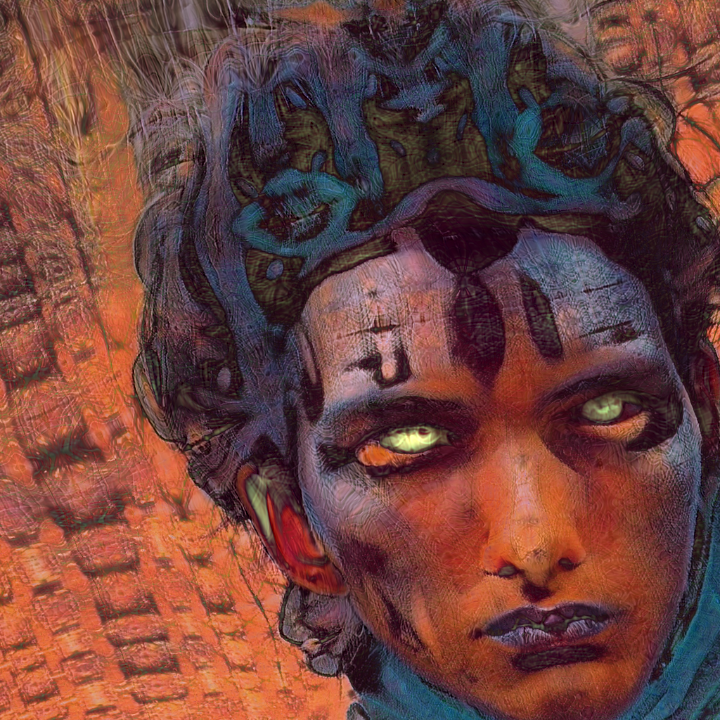
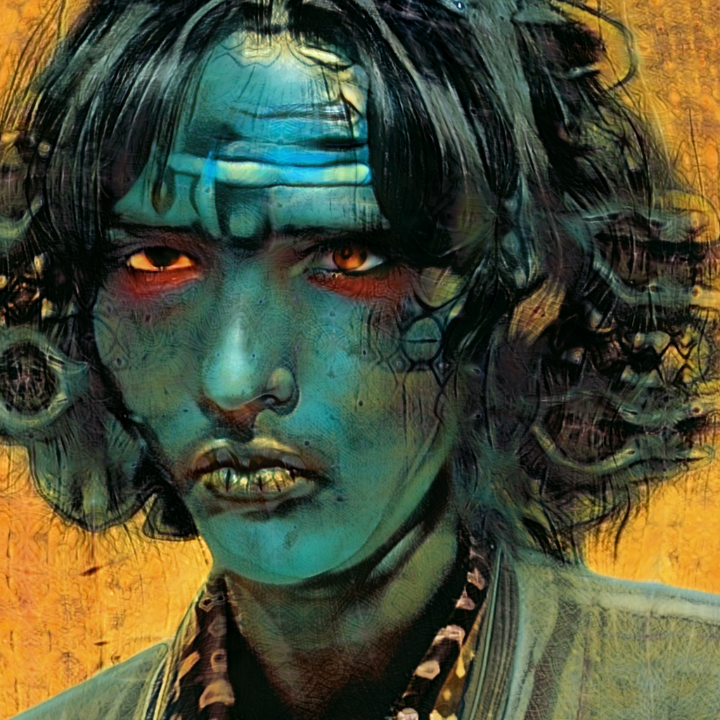
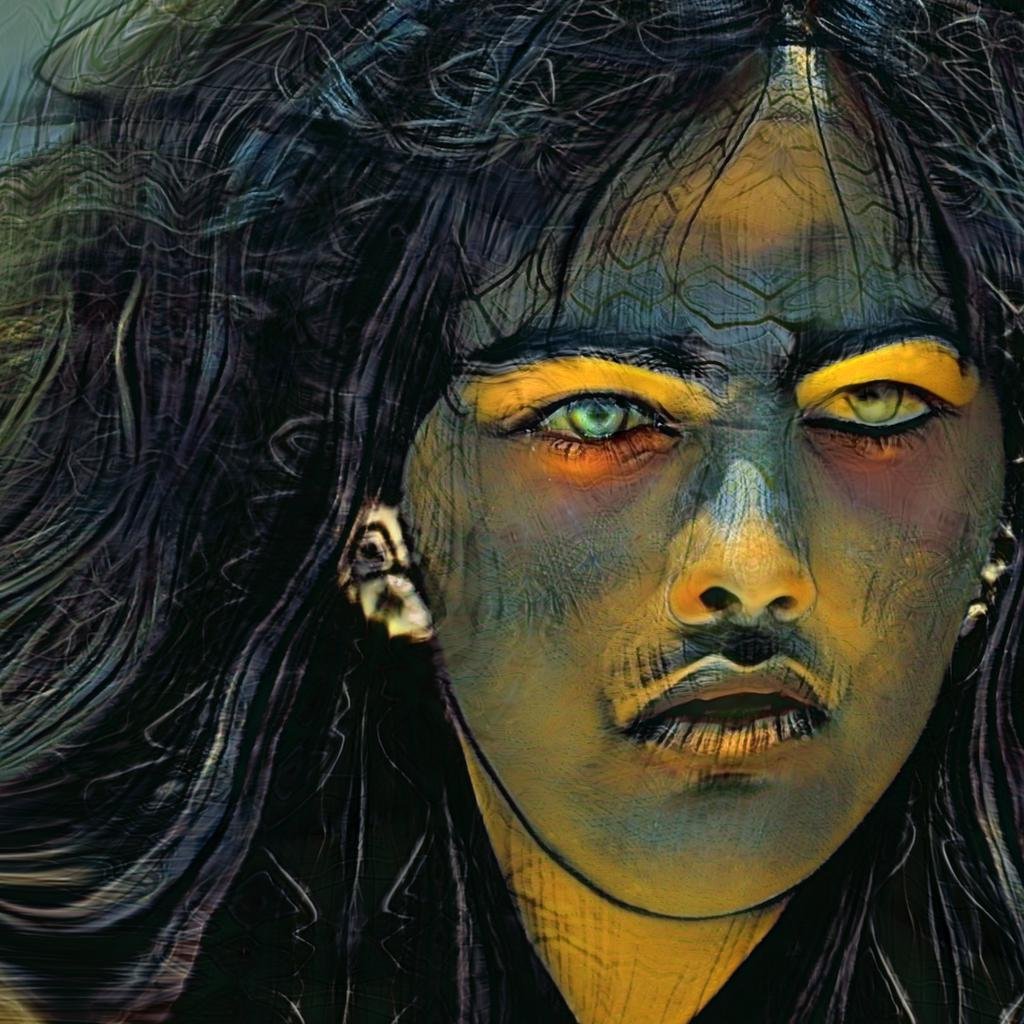
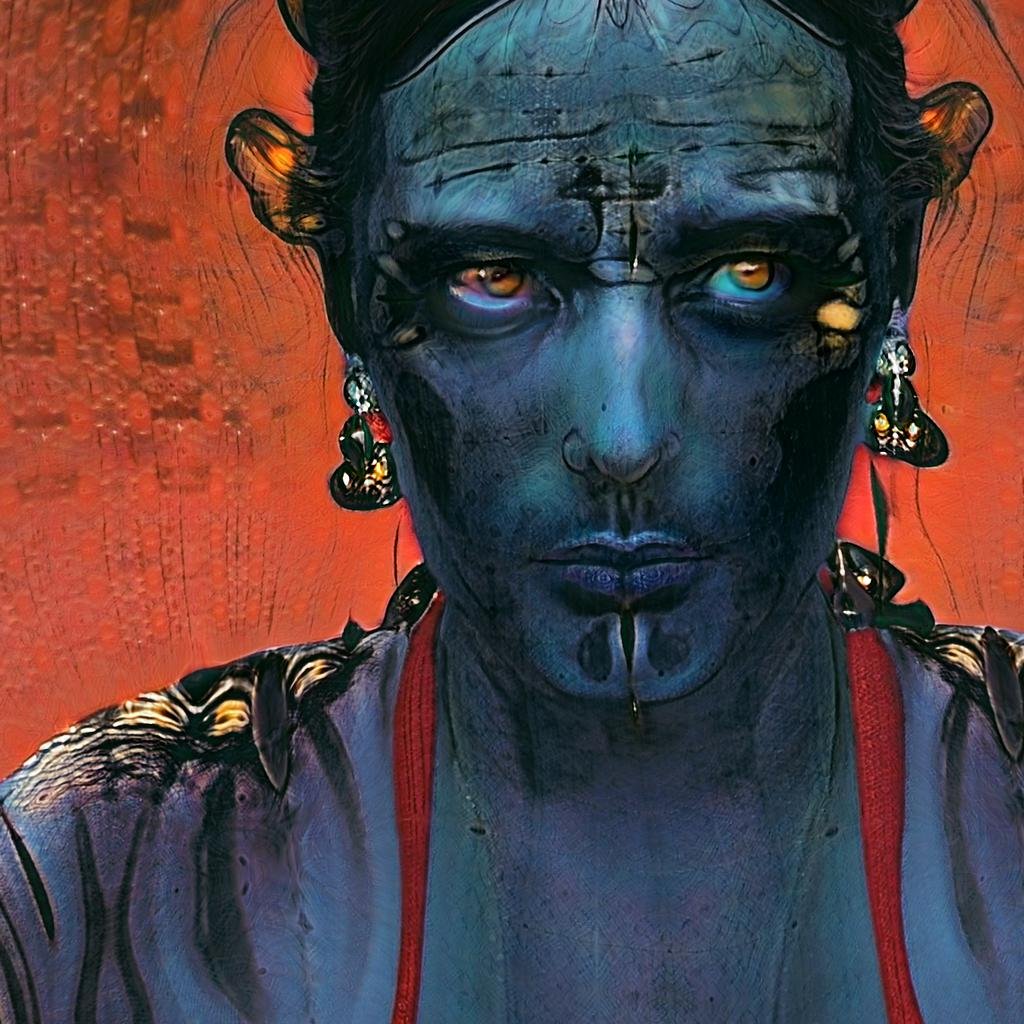
Hello to everybody, today I'm bringing here some portraits made with Stylegan3 + CLIP. Remember that you have links to all the notebooks that I'm using at the bottom of my posts.
I continued with my previous experiments with AI portraits, trying to push them as far as possible. I have been polishing all what already learnt and has been worthy. Especially the first two of the series I'll post below this post section.
Although I have been telling my techniques along several posts, is like you have to pick a bit from here, a bit from there. I'm gonna try to resume it all, just telling what have been the workflow for these artworks.
Everything starts with Artbreeder. Is a simple and effective way to get some "sketches" to be used as start images for VQGAN. Because the control that Artbreeder provides, one have room to get what is needed. In this case, simple portraits, the more alike line art the better. This is because how VQGAN interprets the images given. It gonna split the image in areas, considering the dynamic range, and the different colors. and then build things taking these areas as shapes. So you need an image with low contrast, to avoid hard shapes in the shadows and highlights, simple art line to avoid unwanted shapes, and in greyscale, well believe me, it gonna make your life easier. I help myself with Photoshop to achieve start images with these characteristics.
And now is VQGAN time. Also time to tons of trial and error. First of all is to find a good prompt that suits our needs, and remember the simpler, the better. Try with several artists, mix them... is up to you. In this stage, I focus in the style, rather than a perfect shaped output. So at some point, one find a recipe that works nice, and then is time to try with different seeds, until you get the most accurate result possible. Perfection doesn't exist, and you gonna need to put some extra work. Let's assume you got your recipe, your best seeds, and some portraits that could be awesome if were not for some glitches, distorted faces and so. Well, you have to observe carefully in each run, how the AI interprets the start images and build up from them. Knowing it, you can fix them in Photoshop to guide the AI to where you want. This stage can be a bit tedious, but is worthy, to get the elements of a face enough properly placed makes a big difference. So after a painful process you got your VQGAN portraits!
The next step would be feed Stylegan3 with the VQGAN portraits as start images. If you wonder why don't just skip VQGAN, as is not especially good with portraits, and go straight from Artbreeder to Stylegan3, is simple to explain. To get a start image rich in creativity. Artbreeder don't do crazy things, Stylegan just gonna take some colors and elements from the start image and use them to make a bit more fancy a regular portrait. In the other hand, VQGAN is known for its trippy behavior.
So yeah, now is time to feed Stylegan3. What I do is use the same prompt and seed used for the start image made with VQGAN, and give all of it to Stylegan3. Of course, is again a trial and error process. The start images needs to be polished in Photoshop often, following the same logic as before when we where using the Artbreeder ones in the VQGAN, until I get what I wanted.
To finish, I upscale them with ESRGAN.
I like to show the AI outputs as they are, I don't fix glitches or add stuff to them. Most I do is do some saturation and contrast correction.
For the video there is not much mystery, the notebook did it for me after I had implemented this feature.
And that's all, you can rate my techniques looking at the results below. Hope you will enjoy them!
Hola a todo el mundo, I traigo unos cuantos retratos hechos con Stylegan3 + CLIP. Recordad que tenéis los enlaces a todos los notebooks que estoy usando, al final de mis publicaciones.
He continuado con mis experimentos previous con retratos hechos con IA, intentando sacar de ellos lo máximo posible. He estado puliendo todo lo posible las cosas que ya había aprendido y ha valido la pena. Especialmente los dos primeros de la serie que publico debajo de esta sección de mi publicación.
Aunque he ido hablando de mis técnicas a lo largo de unos cuantas publicaciones, es como que has de ir cogiendo un poco de aquí y allá. Voy a tratar de resumir todo esto, explicando que proceso he seguido para hacer estos retratos.
Todo empieza Artbreeder. Es una forma rápida y simple de conseguir unos cuantos "bocetos" para usarlos como imagen de inicio para VQGAN. Debido al control que ofrece Artbreeder, uno tiene margen para conseguir lo que necesita. En este caso, unos retratos lo más simple posible, cuanto mas parecidos sean a "line art", mejor. Esto es debido a cómo VQGAN interpreta las imágenes que se le dan. Las dividirá en areas acorde al rango dinámico y los colores, y entonces construirá la nueva imagen a partir de esos contornos de las areas. Así que lo ideal, es una imagen con poco contraste para evitar que sombras y reflejos con borders demasiado definidos, trazos simples, para evitar contornos no deseados, y en escala de grises, por que créeme, te harán la vida mucho más fácil. En mi caso, uso Photoshop para conseguir unas imágenes de inicio con estas características.
Ahora toca VQGAN. Y también toca un montón de ensayo y error. Lo primero de todo, es encontrar un buen prompt que cumpla con nuestras necesidades, y recodando que cuanto más simple, mejor. Prueba con unos cuantos artistas, mézclalos... haz a tu gusto. En este paso del proceso, me enfoca en el estilo, más que en lograr unas proporciones adecuadas. En algún momento, uno acaba encontrando una receta que funciona, y es momento de empezar a probar diferentes semillas, hasta conseguir el mejor resultado posible. La perfección no existe, y hay que trabajársela más. Vamos a imaginar que uno ya encontró la receta y las seeds, y unos cuantos retratos que podrían estar muy bien si no fuera por todos los fallos y las caras distorsionadas. Bien, es cosa de observar muy bien como la IA interpreta las imágenes de inicio hasta entender como construye la imagen a partir de ellas. E ir haciendo correcciones con Photoshop para guiar a la IA hacia donde te interesa. Todo esto se puede volver un tanto tedioso, pero vale la pena, conseguir que los elementos de la cara estén colocados lo mejor posible, marca una gran diferencia. Así que después de un proceso doloroso, ¡has conseguido tus retratos con VQGAN!
El siguiente paso sería pasarle estos retratos a Stylegan3. Si te estás preguntando por qué no pasar de VQGAN, ya que no es especialmente buena para retratos, e ir directamente de Artbreeder a Stylegan3, es fácil de explicar. Para conseguir una imagen de inicio que derroche creatividad. Artbreeder no es que haga cosas muy locas en cuanto a creatividad se refiere, Stylegan solo toma algunos colores y elementos para adornar un retrato normal. Pero por otro lado, VQGAN ya se sabe que es muy loco en sus resultados.
Así que sí, ya es hora de darle de comer a Stylegan3. Lo que yo hago es usar el mismo prompt y semilla con la que he hecho la imagen de inicio, y se lo doy a Stylegan3. Por supuesto, vuelve a ser un proceso de prueba y error, siguiendo la misma lógica que hemos seguido antes cuando estábamos usando Artbreeder para darle imágenes a VQGAN, hasta que he logrado lo que quería.
Para acabar, las escalo con ESRGAN.
Me gusta mostrar mis resultados tal cual han salido de las IAs. Nunca tapo errores, ni añado cosas, lo más, corregir un poco el contraste y la saturación.
Acerca del video, no hay mucho misterio, el notebook lo creó para mi después de que le implementara esta opción..
Y creo que eso es todo, podéis valorar mis técnicas echando un vistazo a las imágenes a continuación. ¡Espero que las disfrutéis!.
AI Artworks
Notebooks
Enhanced Original VQGAN+CLIP Notebook
Mse regularized Modified VQGAN+CLIP Notebook
VQGAN+CLIP with Video Features Notebook
CLIP Guided Diffusion HQ 256x256 Uncond
CLIP Guided Diffusion HQ 512x512 Uncond Notebook
All the content of this post is from my own.
Todo el contenido de este post es de mi autoría.
Images generated with Artbreeder + VQGAN+CLIP + Stylegan3, upscaled with Real-ESRGAN and edited with Photoshop.
Imágenes generadas con Artbreeder + VQGAN+CLIP + Stylegan3, escaladas con Real-ESRGAN y editadas con Photoshop.
100% AI free writing.
Textos 100% libres de IA.
Comments