Woodworking Wednesdays | Base and Mask
3 comments
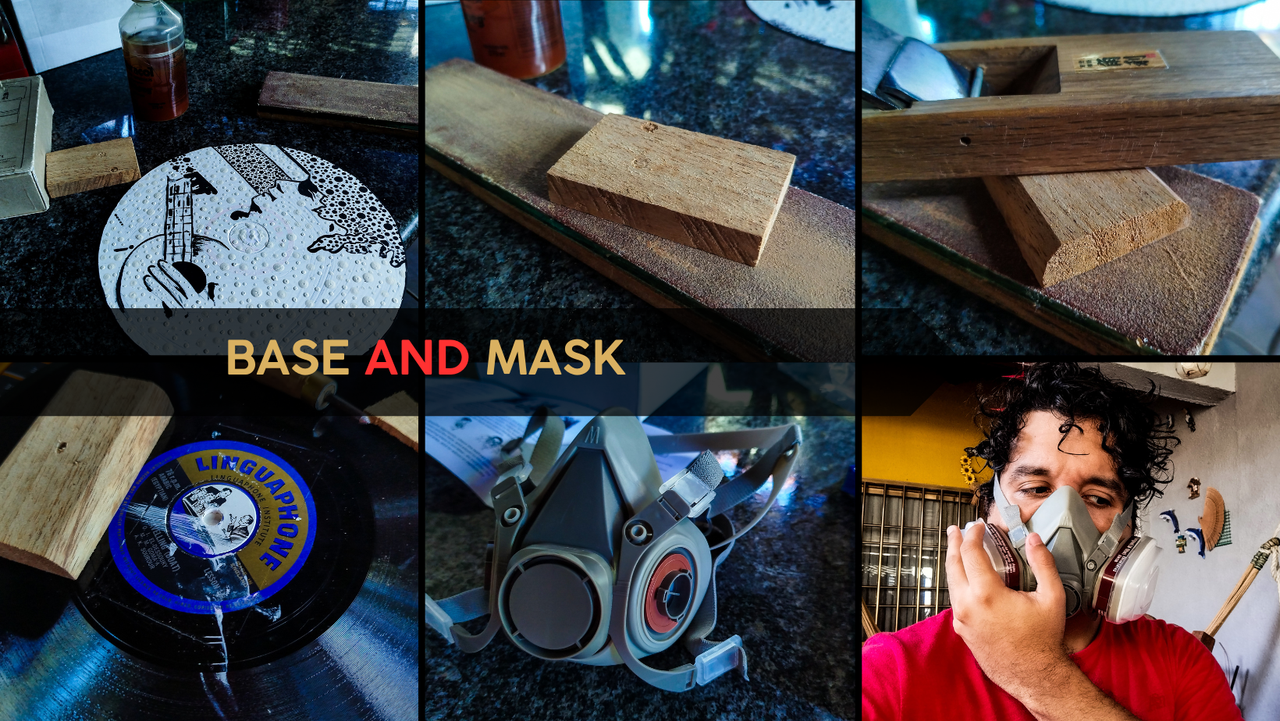

Welcome back to this window to my makeshift workshop. Today, we're going to go over a very small project that was about decorating my room with a piece of art made by @zullyscott. The painting had been stored for far too long and the display was necessary. Besides, this covers a defect in wall that was pretty obvious.
Let's get to it!
Base
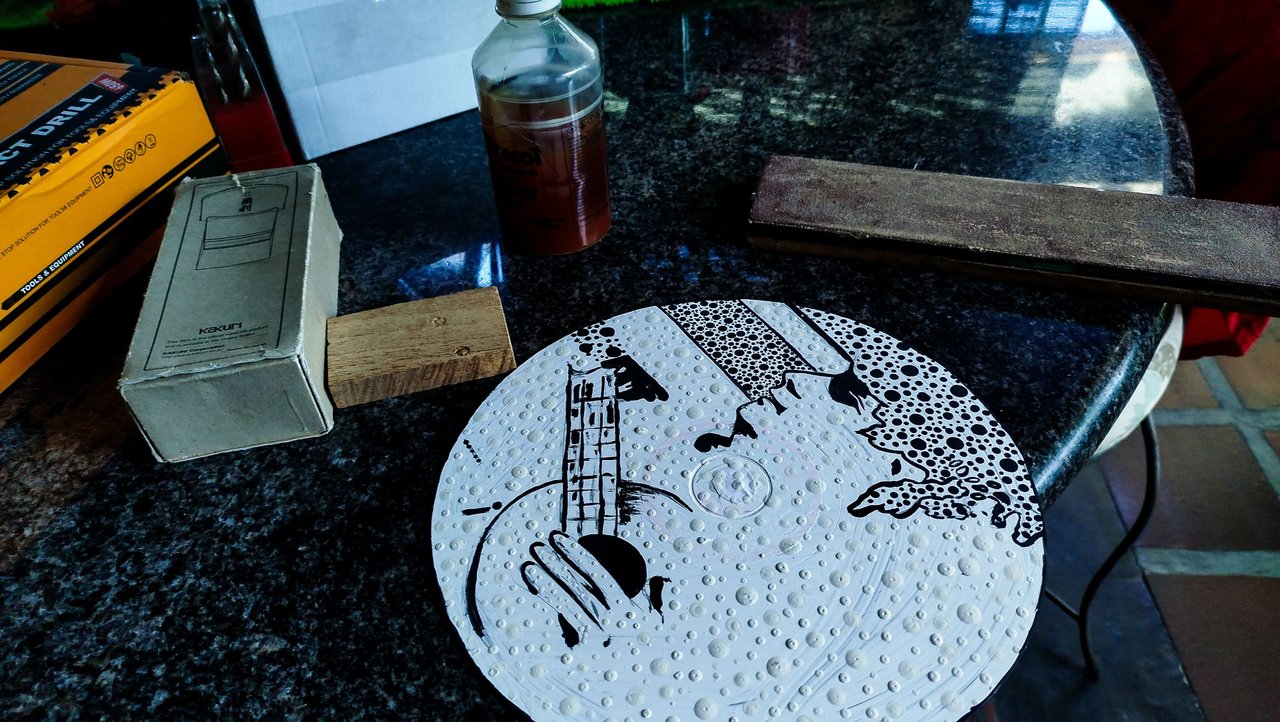
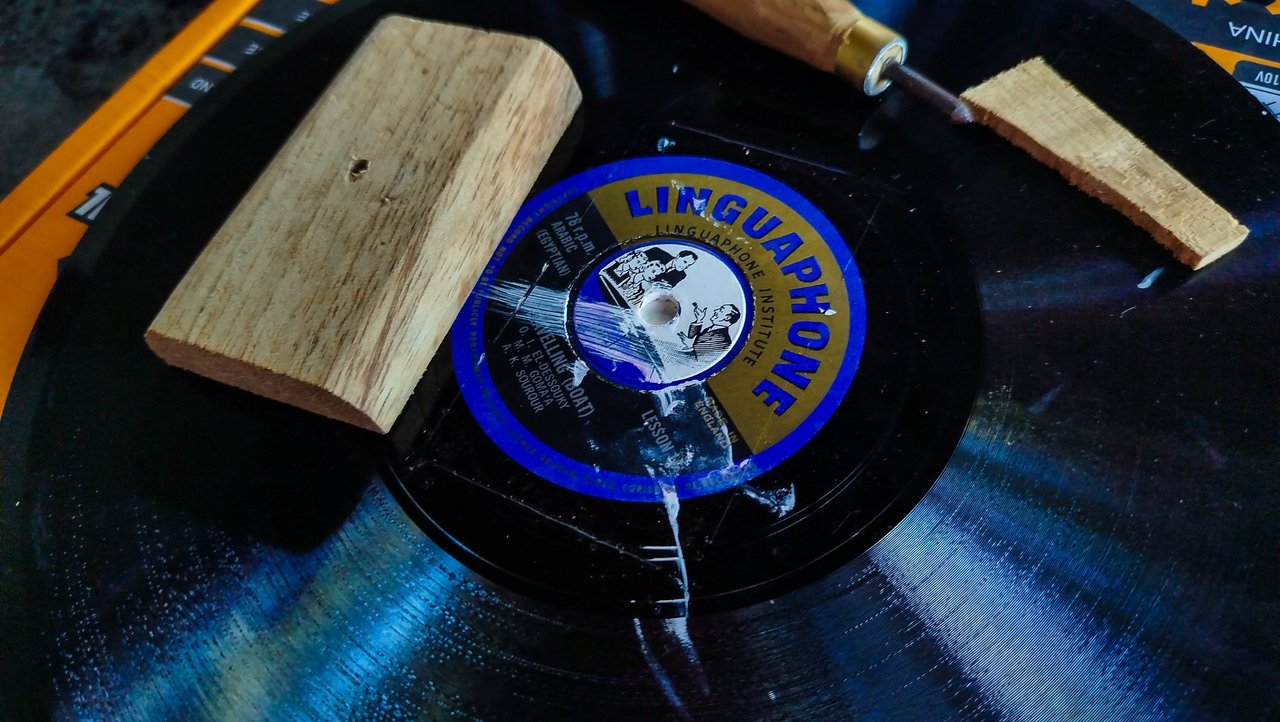
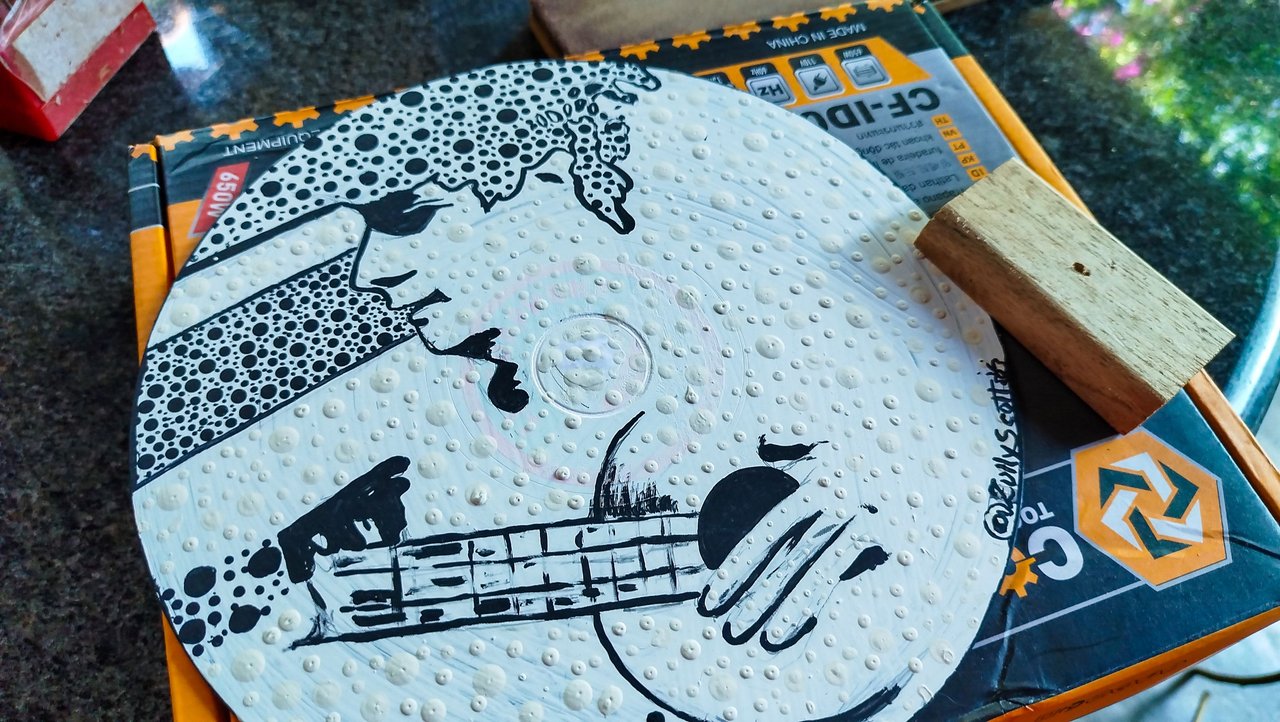
This painting came on a vinyl disc. It is a portrait taken from a photo I once used for a thumbnail on a cover. I don't remember which one exactly. But that is not the point. This was in my closet for over a year until I did a big clean up and discarded a lot of stuff that was holding up space that was needed. I saw the disc and decided to make the base once and for all and hang it to the wall.
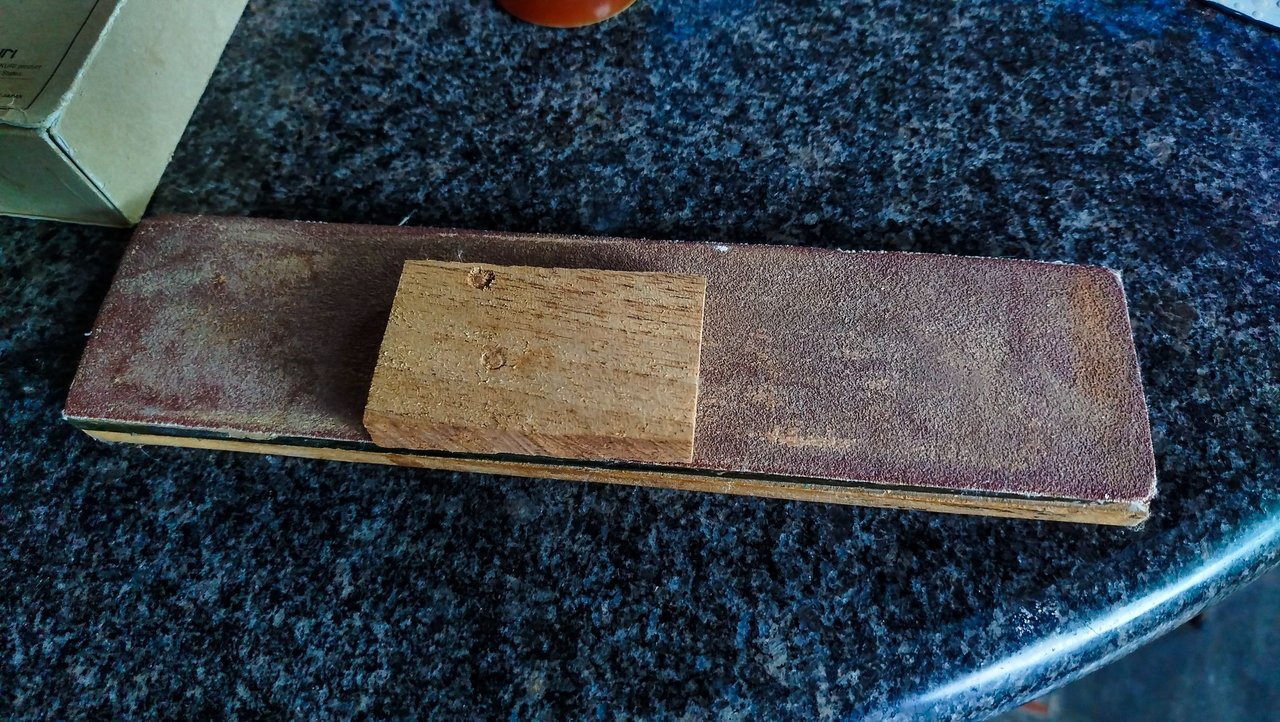
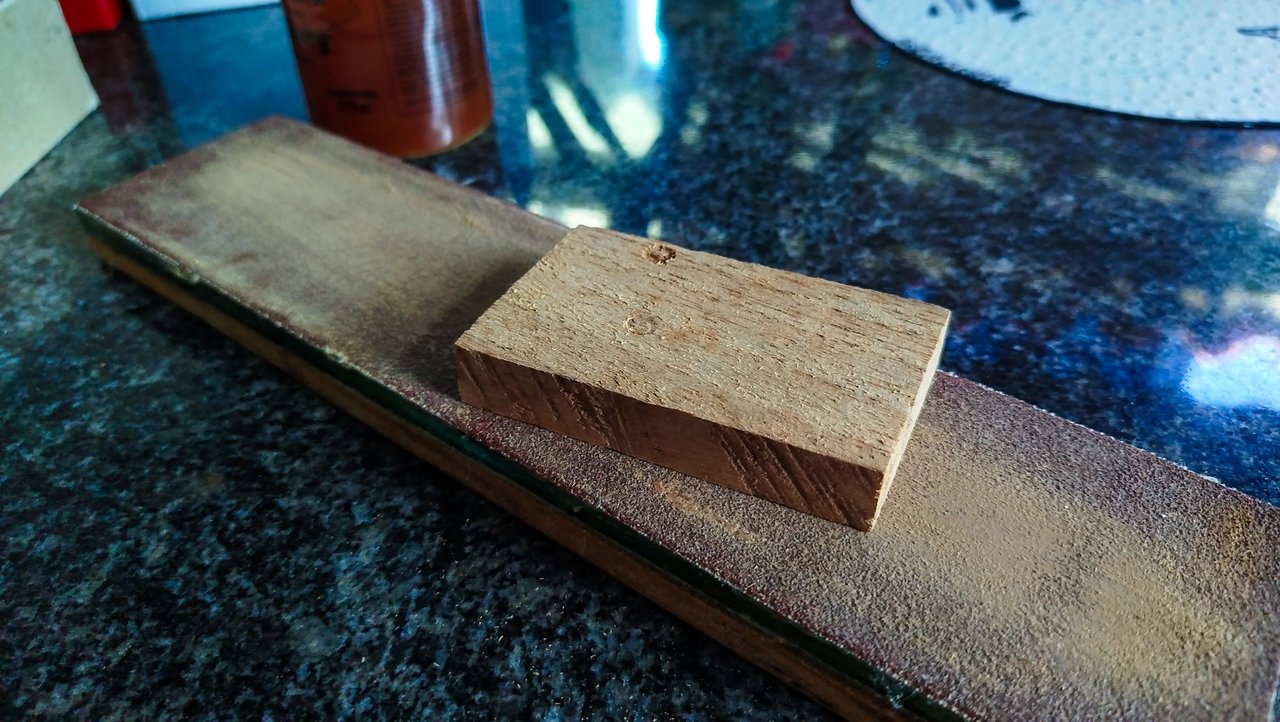
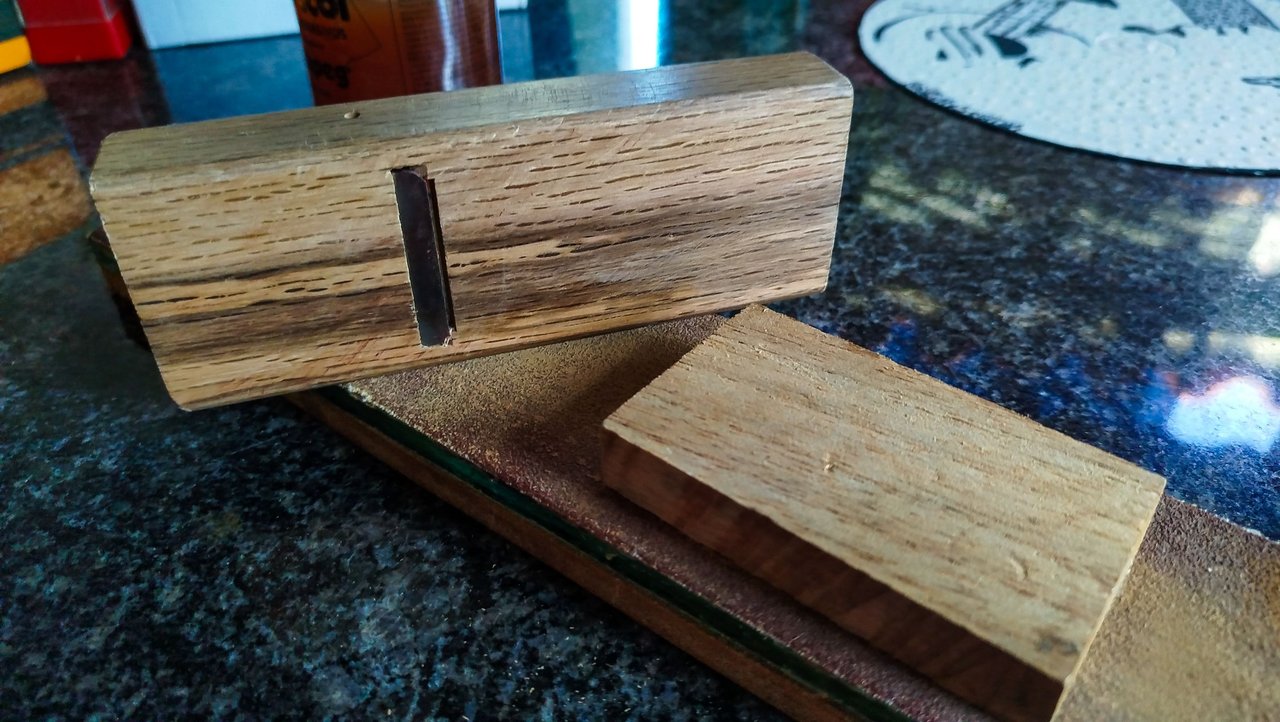
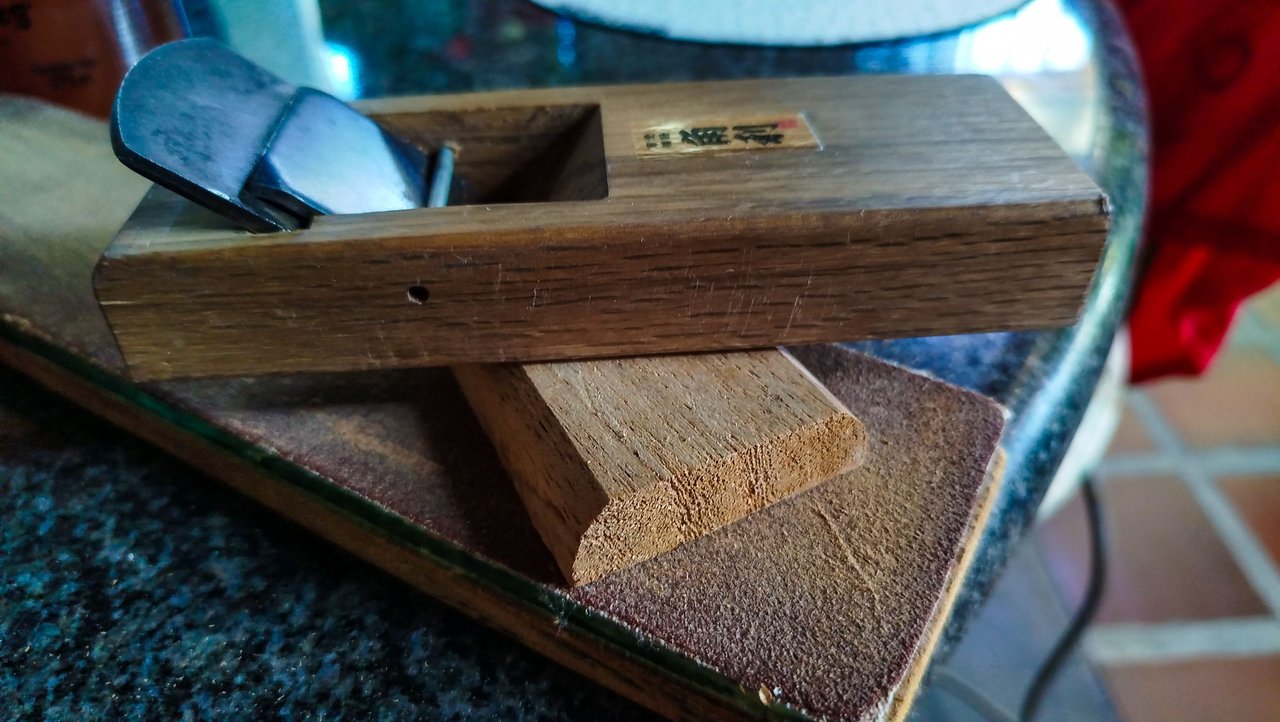
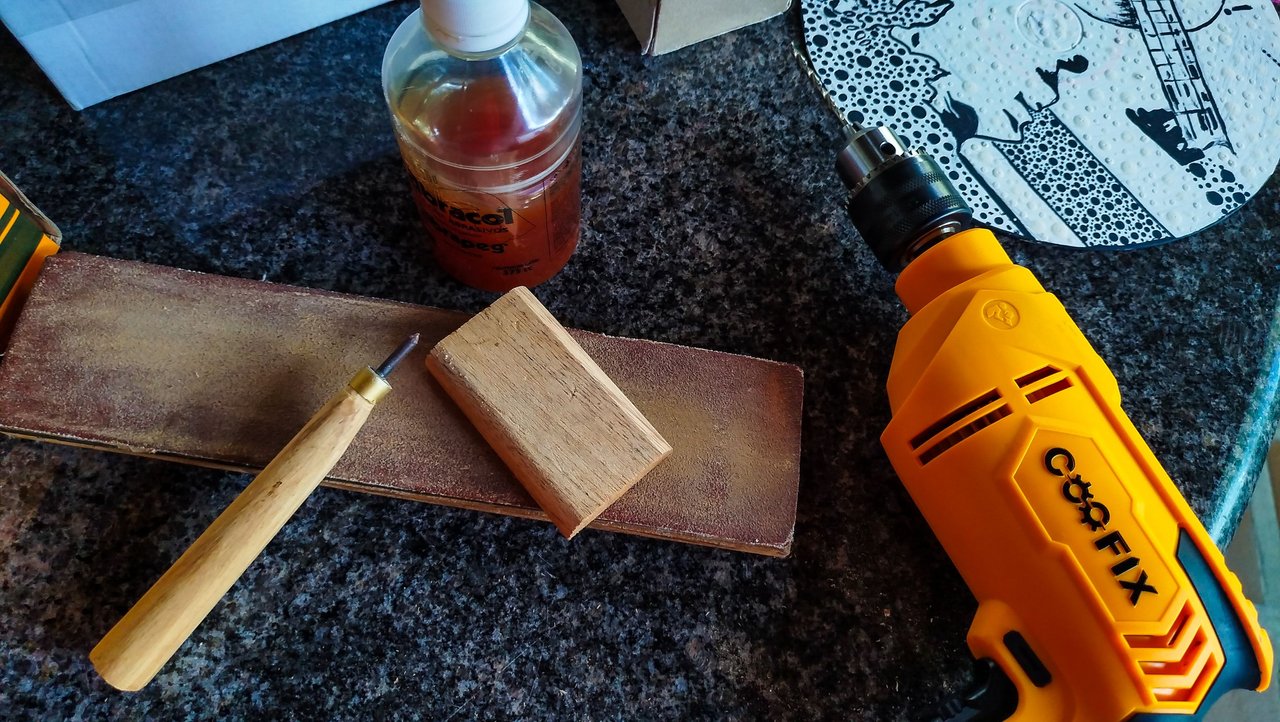
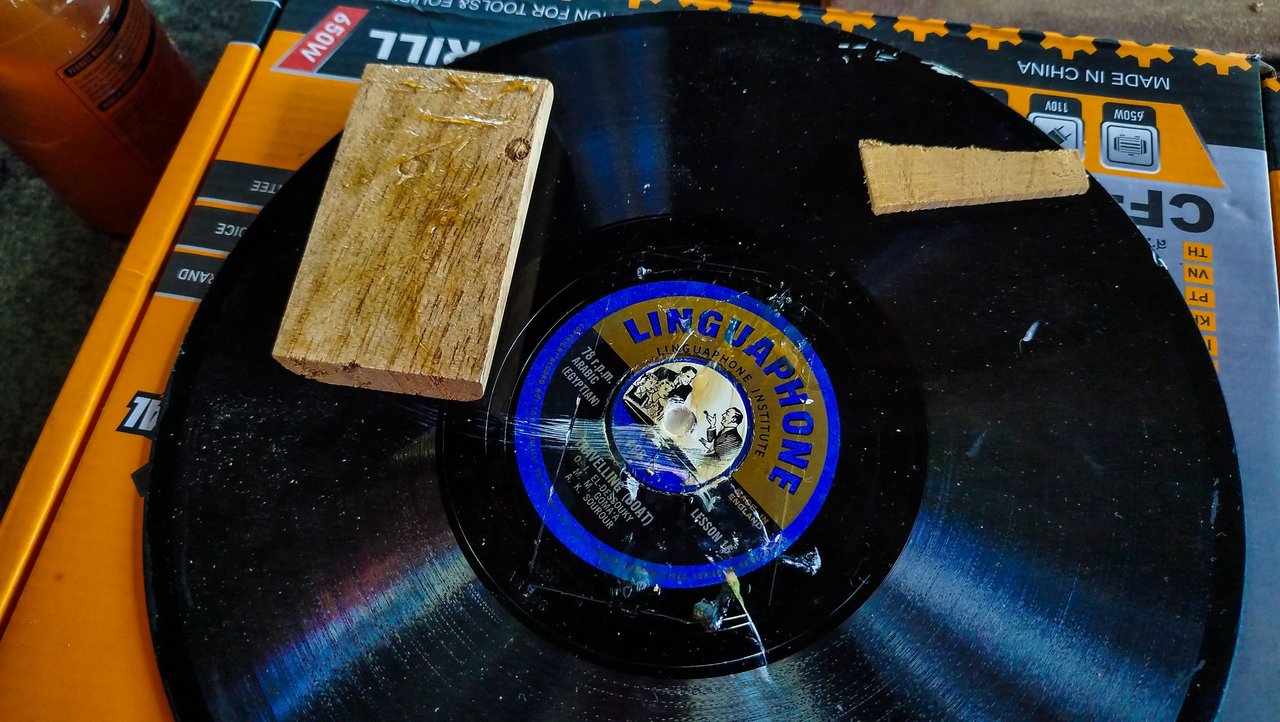
It is a simple project. The tools are not anything fancy. Sandpaper, drill, glue and hand plane. We start by sanding a piece of wood until both faces are even. Then, we use the hand plane to rectify the sides. We also employ it to create this curves on one of the faces. This isn't absolutely necessary, let's just say it is a force of habit because the end blocks inside an instrument's body has this shape.
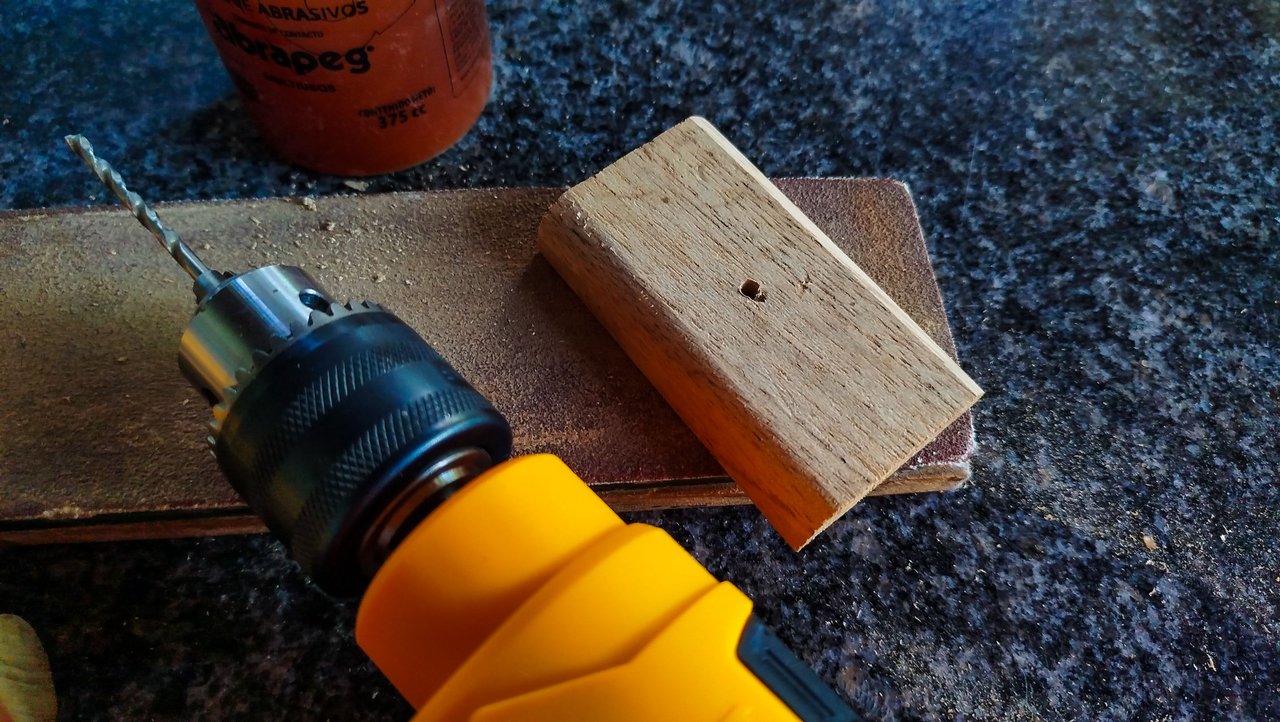
Next, we make a hole after marking the center of the piece. Here's where the head of a nail will go and hold this base to the wall. To glue it to the disc, we need to use something that can keep two surfaces of different materials together. It's a good thing we have some contact cement at hand. First, we mark the center of the backside of the painting and then apply the glue to both surfaces that will be in contact. This glue works by sticking to itself. It also needs to be quite dry before holding both pieces together. And as an extra piece of advice, both surfaces need to be clean for it to work properly.
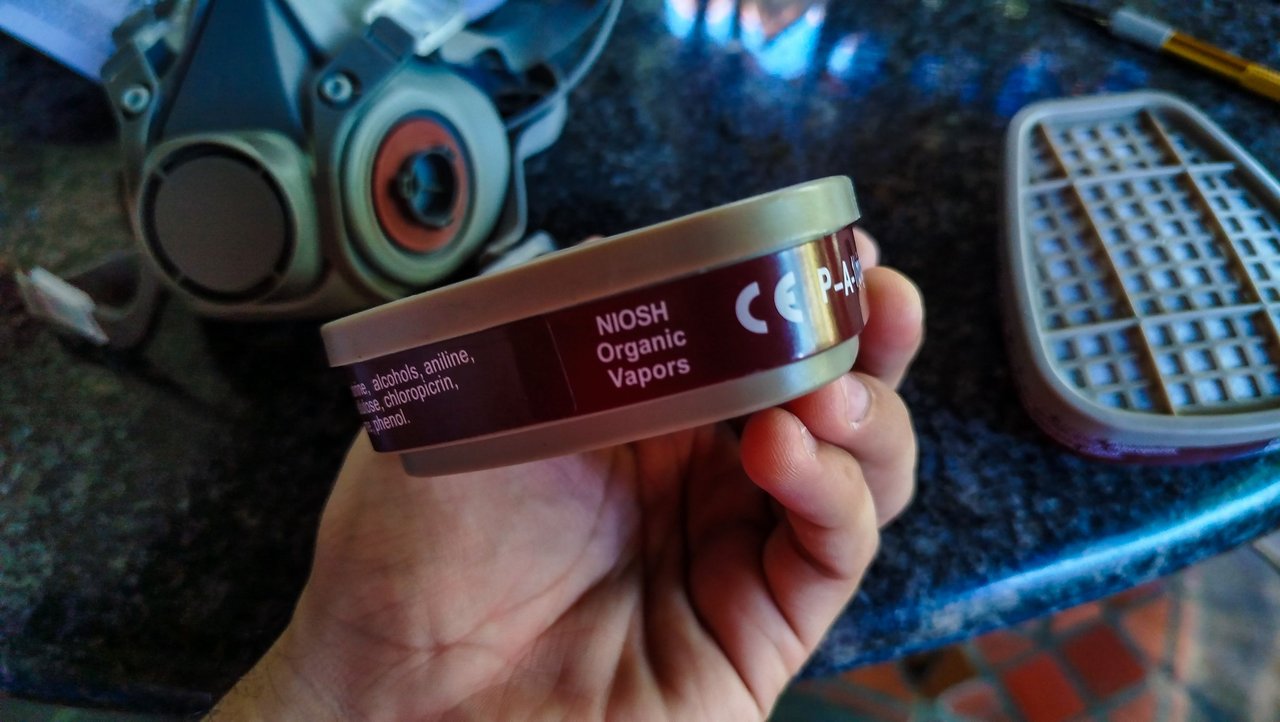
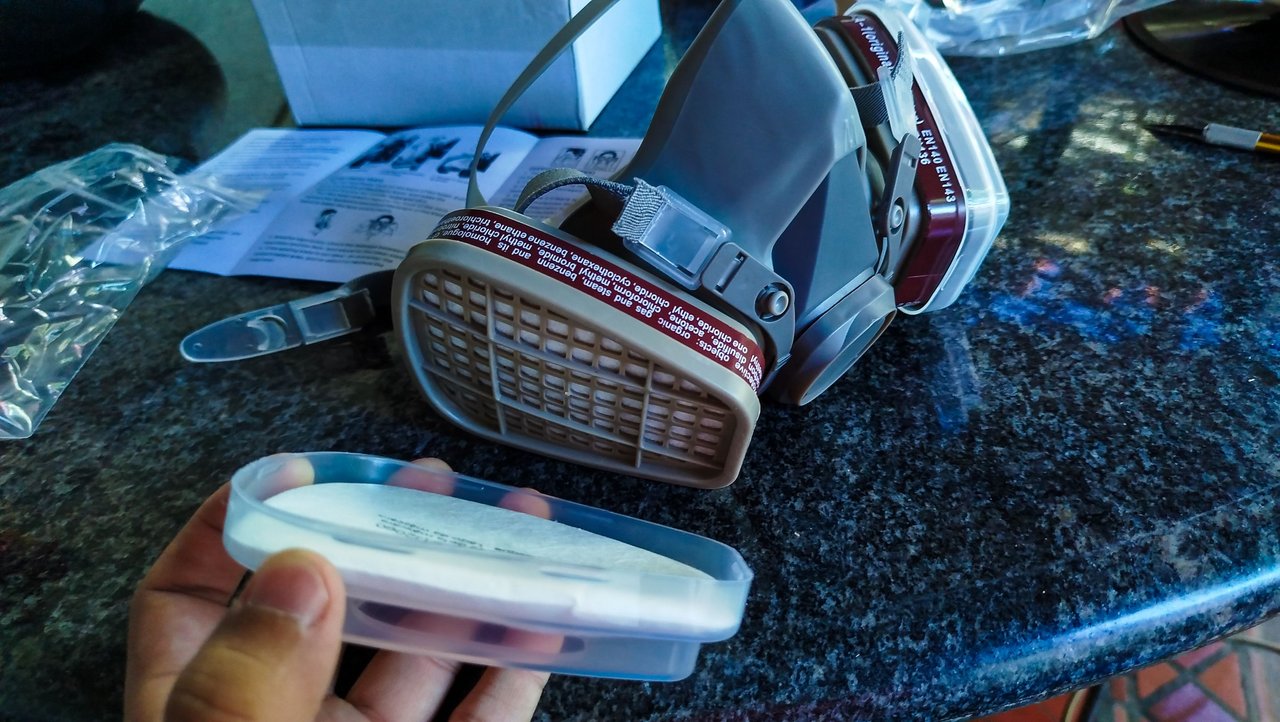
Also, when using this glue, we need to use some protection. This is the kind of thing that make people addicts. It isn't a joke. It is a drug on itself. So, always work in an open area and use a mask.
Mask
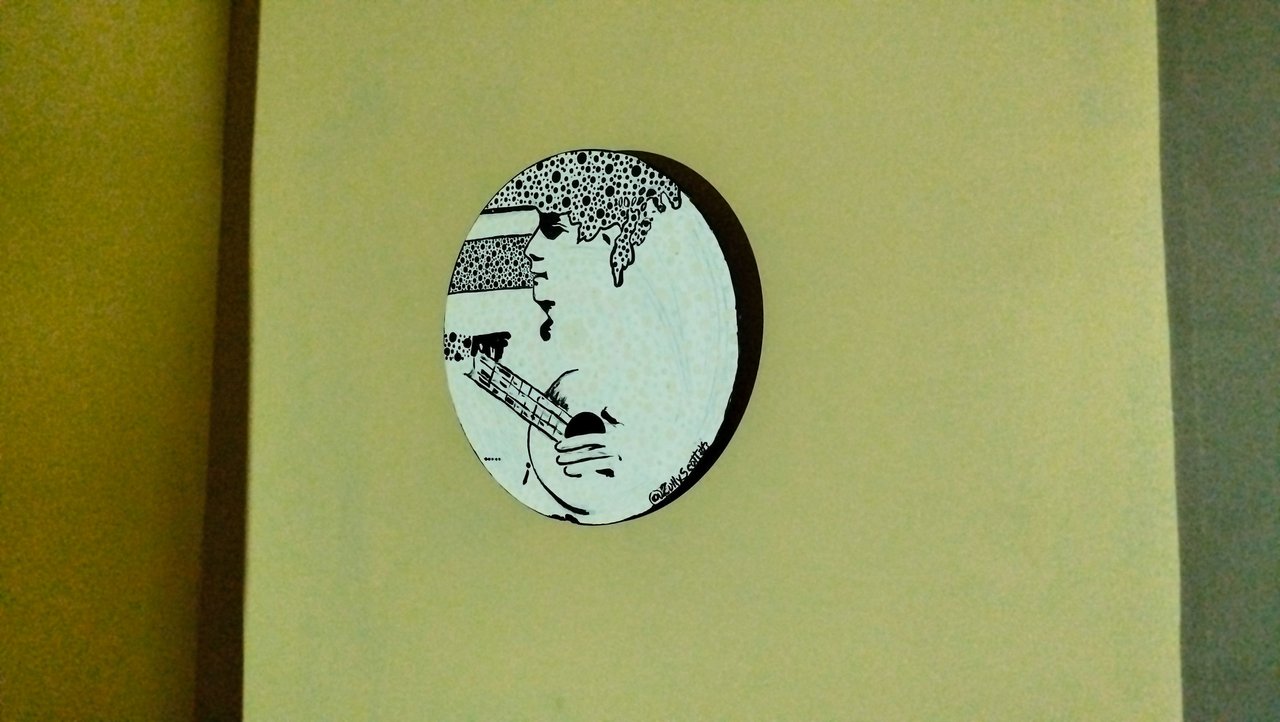

Here you can see the results of the work. The piece is holding together and we can hand the painting to the wall.
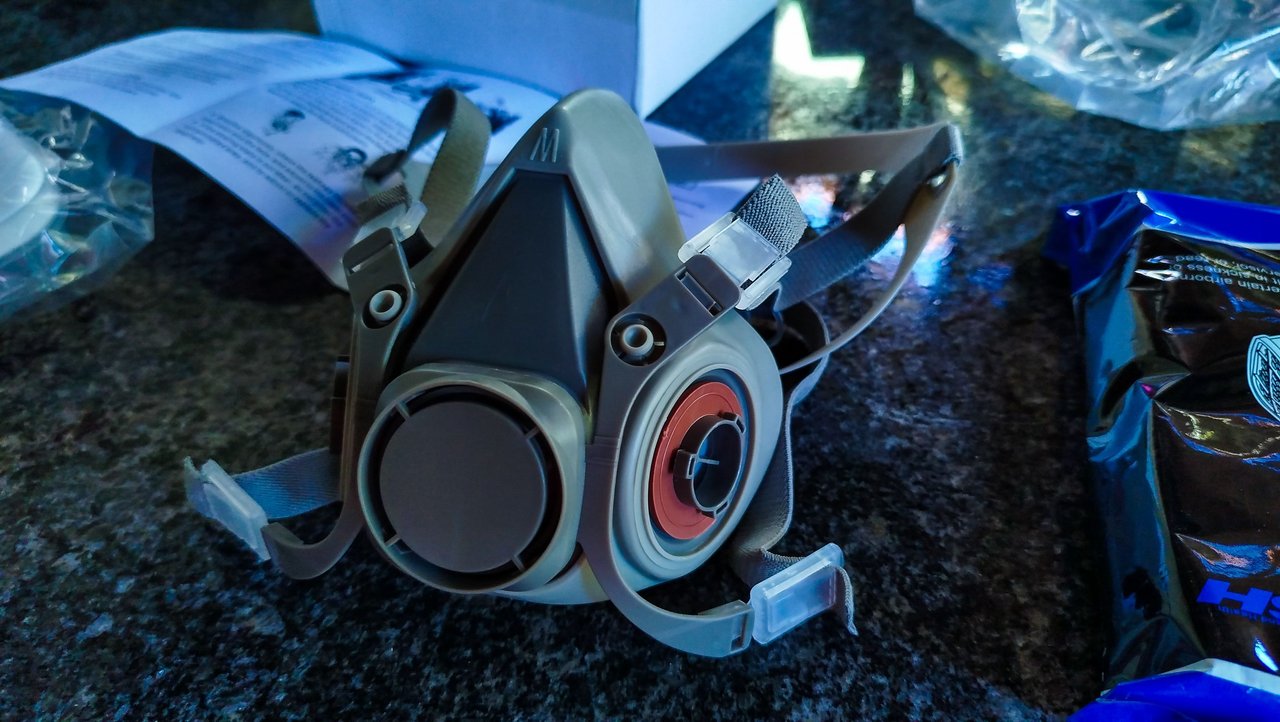
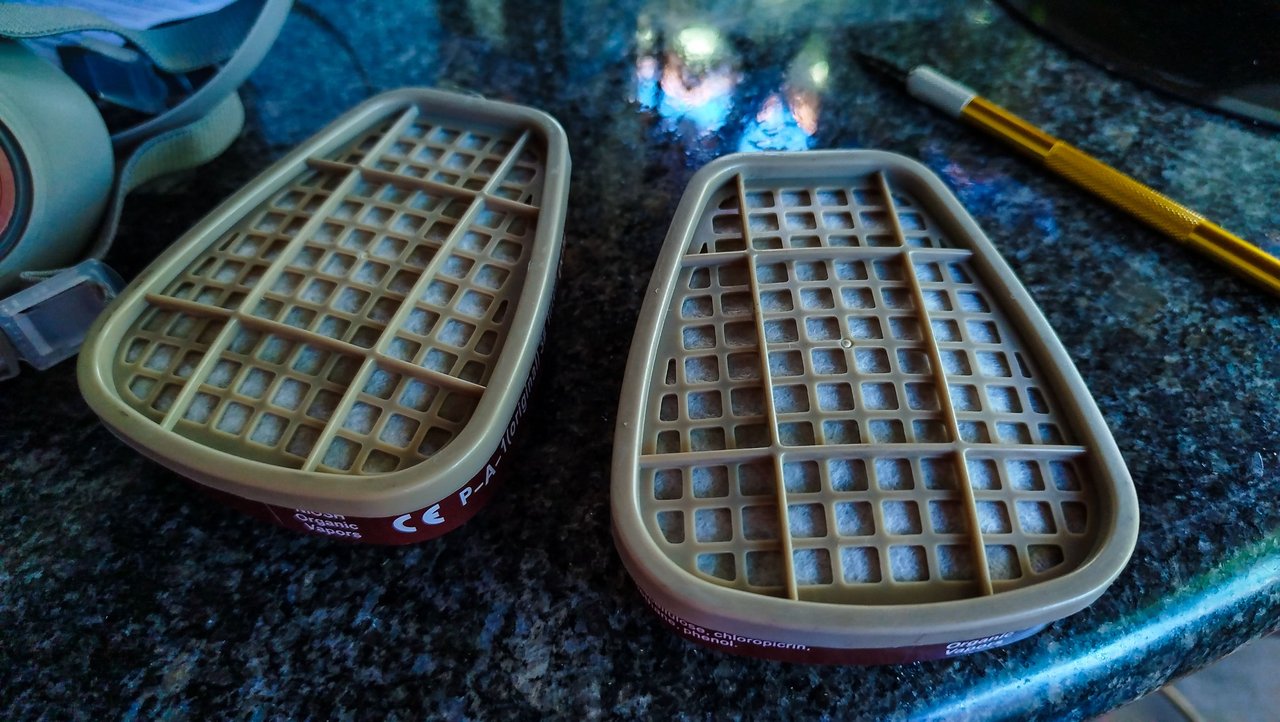
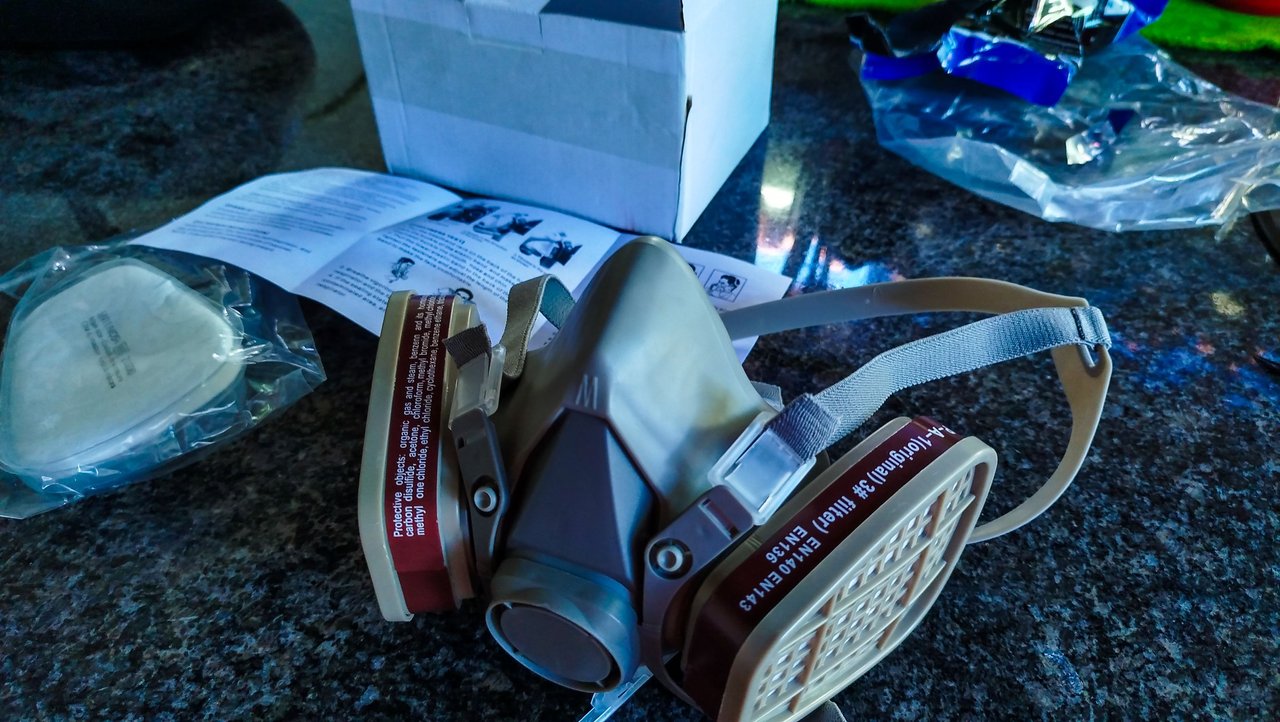
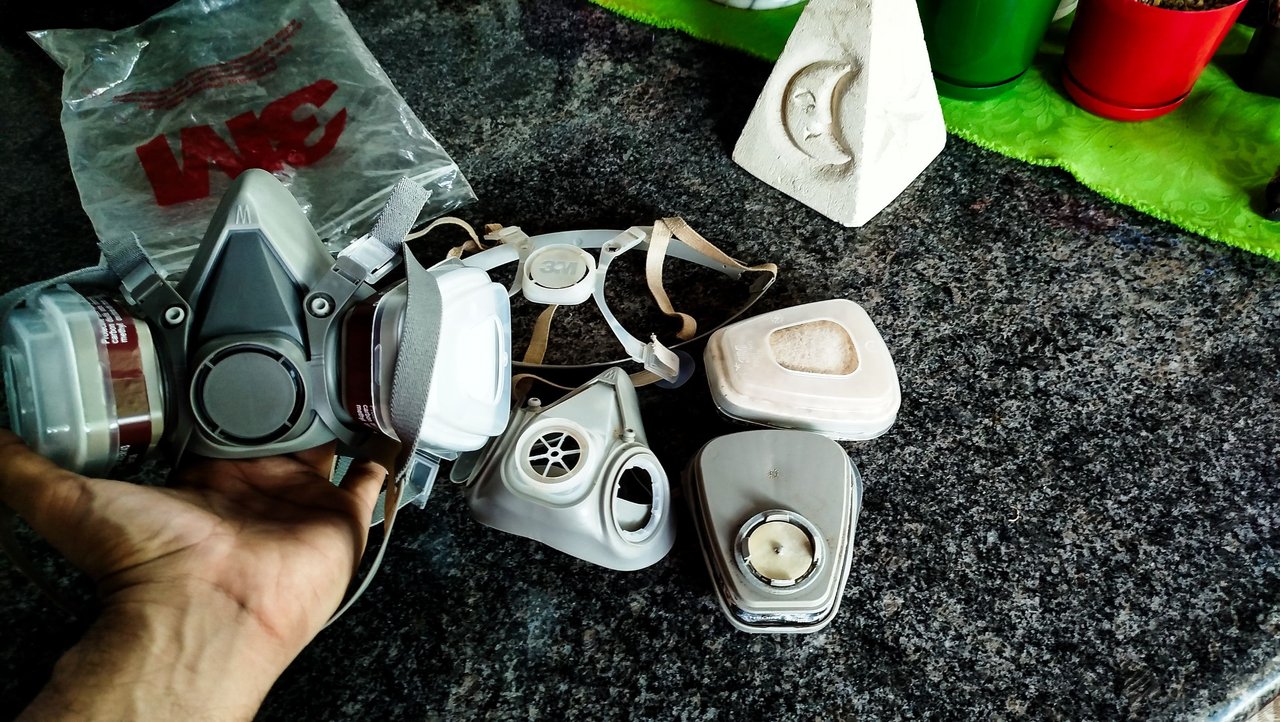
Also, as we spoke about the health hazards of glue, here's a better look at the new mask and the condition of the previous one. As you can see the new mask has some other features. For example, the filters are held in place by a different mechanism. The older one had clips. They hold things in place, but they can break and then they don't hold anything else. The new one has a sort of twisting mechanism that fastens the filter in place and you can remove them easily. This is a nice thing since you can actually wash the mask by removing the pieces. The other things are pretty much the same. The harness works in the same fashion. The pads are held with the same caps.
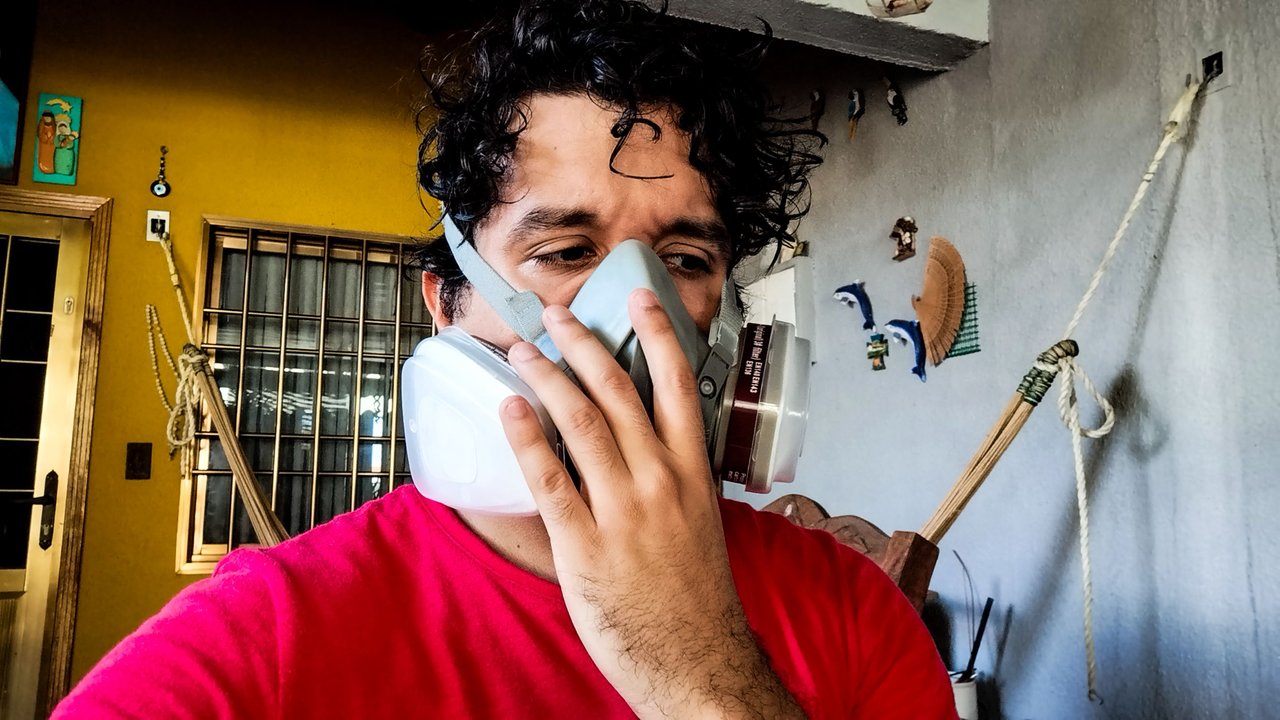
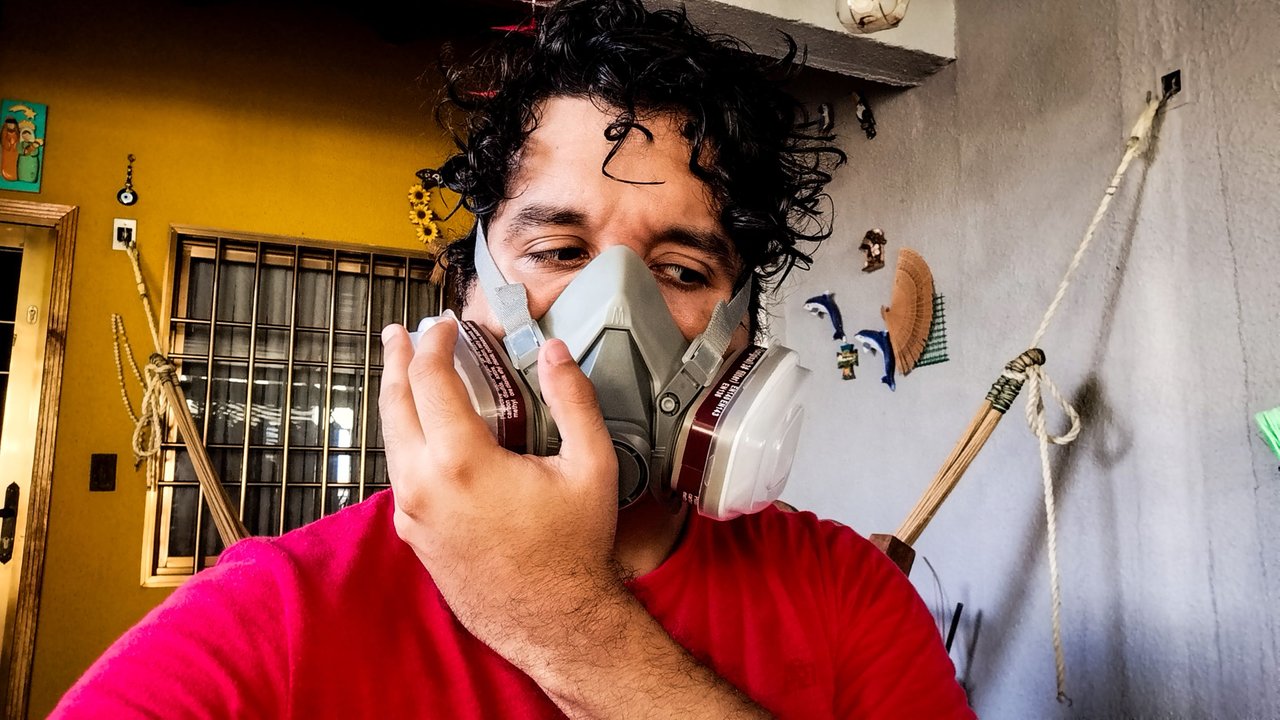
And as you can see in the photos, the older one was in pretty bad shape. A replacement was needed. If you're wondering about the weird photos, it is a test for breathing through the mask. That is the way you can check if everything works as it should once the whole contraption is put together.
That's all for now! There are some other personal projects around and some other instruments coming along on the next entries. Thanks for reading! See you next time!
- Photos 📷: Redmi Note 13
Thumbnail 🖼️: Canva.
Editing 🎬:Adobe Photoshop Lightroom.

Follow me on Instagram for enquires and commission.
If you'd like to help the workshop grow, you can make a donation here.
You can find me at discord as bertrayo#1763
Comments